With this step-by-step guide, you can install your water reader yourself in just a few minutes – from attaching it to the water meter to integrating it into the electricity reader app.
Installation of the water reader on the water meter
Scope of delivery
- water reader
- Metal plate for mounting
- Adapter, if your water meter has a notch
- Suitable USB-C cable
- Instructions and contact information

Step 1: Check compatibility
Make sure your water meter is compatible.
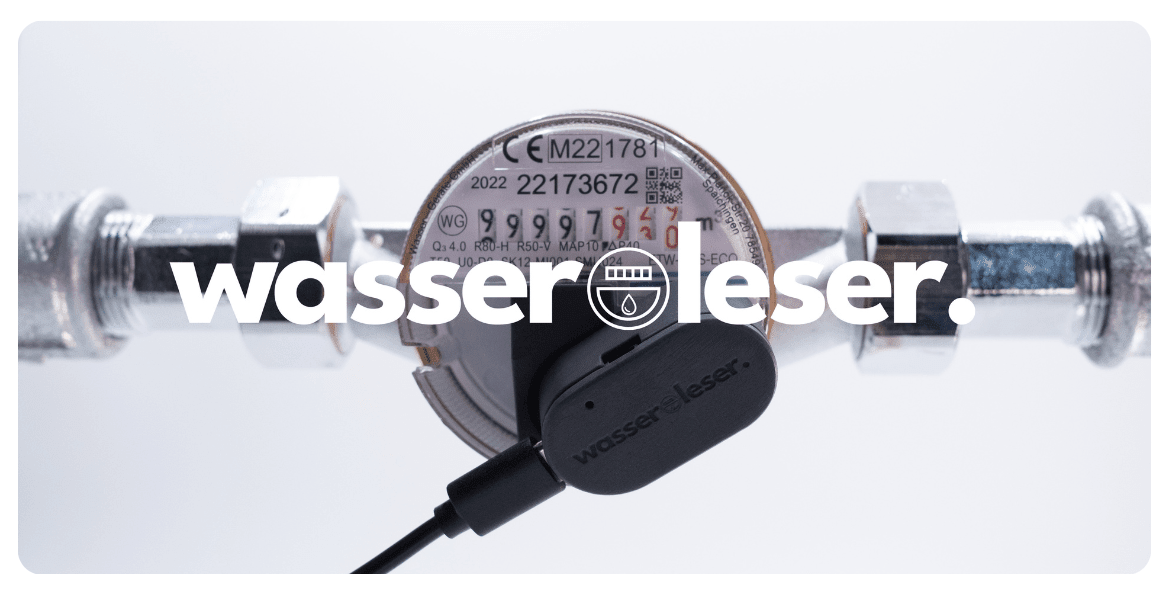
Important : The water meter reader is only compatible if there is a small metal disc visible above the red wheel on your water meter.

Step 2: Choose the appropriate fastening method
You will need either the adapter or the metal plate – depending on your water meter.
Caution : Never use the adapter and metal plate at the same time.

Step 3a: Attachment with adapter (if notch is present)
If your water meter has a notch:
- Insert the adapter into the notch.
- set up water reader


Step 3b: Attachment with metal plate (if no notch is present)
If your water meter doesn't have a notch:
- Attach the metal plate to the bottom of the water reader.
- Peel off the adhesive film
- Stick the water meter reader onto the meter


Step 4: Align the position correctly
Make sure that the water meter icon on the underside is positioned exactly above the red dial of your water meter.

Step 5: Connect the power supply
Connect the water reader to the mains power supply using the included USB-C cable .


The water reader is now ready for setup in the app.
Connecting the water reader to the electricity reader app
Open the power reader app
Step 1: Activate Bluetooth
Activate Bluetooth on your smartphone and hold it near the water reader. Tap the water reader tile in the app.

Step 2: Select device in the app
Wait a moment until the device appears in the app.
Select it to establish the connection.

Step 3: Setting up Wi-Fi
Now you select your personal Wi-Fi network and enter your Wi-Fi password.

Wait until your water reader has been fully initialized.

Step 4: Check the LED
If the LED on the water reader flashes blue, it is successfully connected.

Step 5: Configure the device
Now tap on Configure water reader. Confirm the blue LED and then enter the values requested.

Then click Done.
Features in the app
Step 1: View consumption
Your water meter will now be displayed under your devices and will show you your personal water consumption from now on.

Step 2: Analyze consumption patterns
Additionally, you can have your consumption history displayed graphically.

Step 3: Adjust settings
You can adjust your entered values and the device name at any time.
To do this, simply navigate to the settings of your water reader using the small gear icon in the top right corner.

There you will also find timer functions and leak detection:

Step 4: Use the timer function
It allows you to monitor your water consumption. You can set manual warning thresholds that will notify you when a specific time or volume limit is exceeded.


Step 5: Activate leak detection
This feature helps you identify water leaks. It sounds an alarm if water flows for longer than the time you specify.

Have fun reading about water!
Tip: Would you prefer to watch the installation in a video? No problem! In our tutorial video, we show you step by step how to easily install your water meter.
FAQ water reader
Does the water reader require Wi-Fi?
Yes, the water meter uses Wi-Fi to transmit your consumption data. This allows you to digitally read your water meter and view your water consumption at any time in the app. A stable Wi-Fi connection is required for this.
How is the water meter powered?
The water meter is permanently powered via the mains electricity supply. A suitable power adapter and connection cable are included, so you can get started right away. Since it's a water meter sensor, a continuous power supply is crucial for accurate readings.
Which water meters is the water reader compatible with?
The water reader is compatible with most common water meters – especially models that have a red rotating disc.
Can I install the water meter myself?
Yes, absolutely! Installation is incredibly easy, takes only a few minutes, and requires no tools. You simply upgrade your existing water meter to be smart: insert the adapter or metal disc, attach the water reader, and then set it up via the app. This transforms your analog water meter into a smart water meter in no time.
Can the water meter be integrated into Home Assistant?
Yes. You can easily integrate the water meter into Home Assistant and thus monitor and automatically analyze your water consumption in your smart home.
❗️ If you have any questions or need support, please feel free to contact us via Email ( info@energieleser.de ).


Leave a comment
This site is protected by hCaptcha and the hCaptcha Privacy Policy and Terms of Service apply.