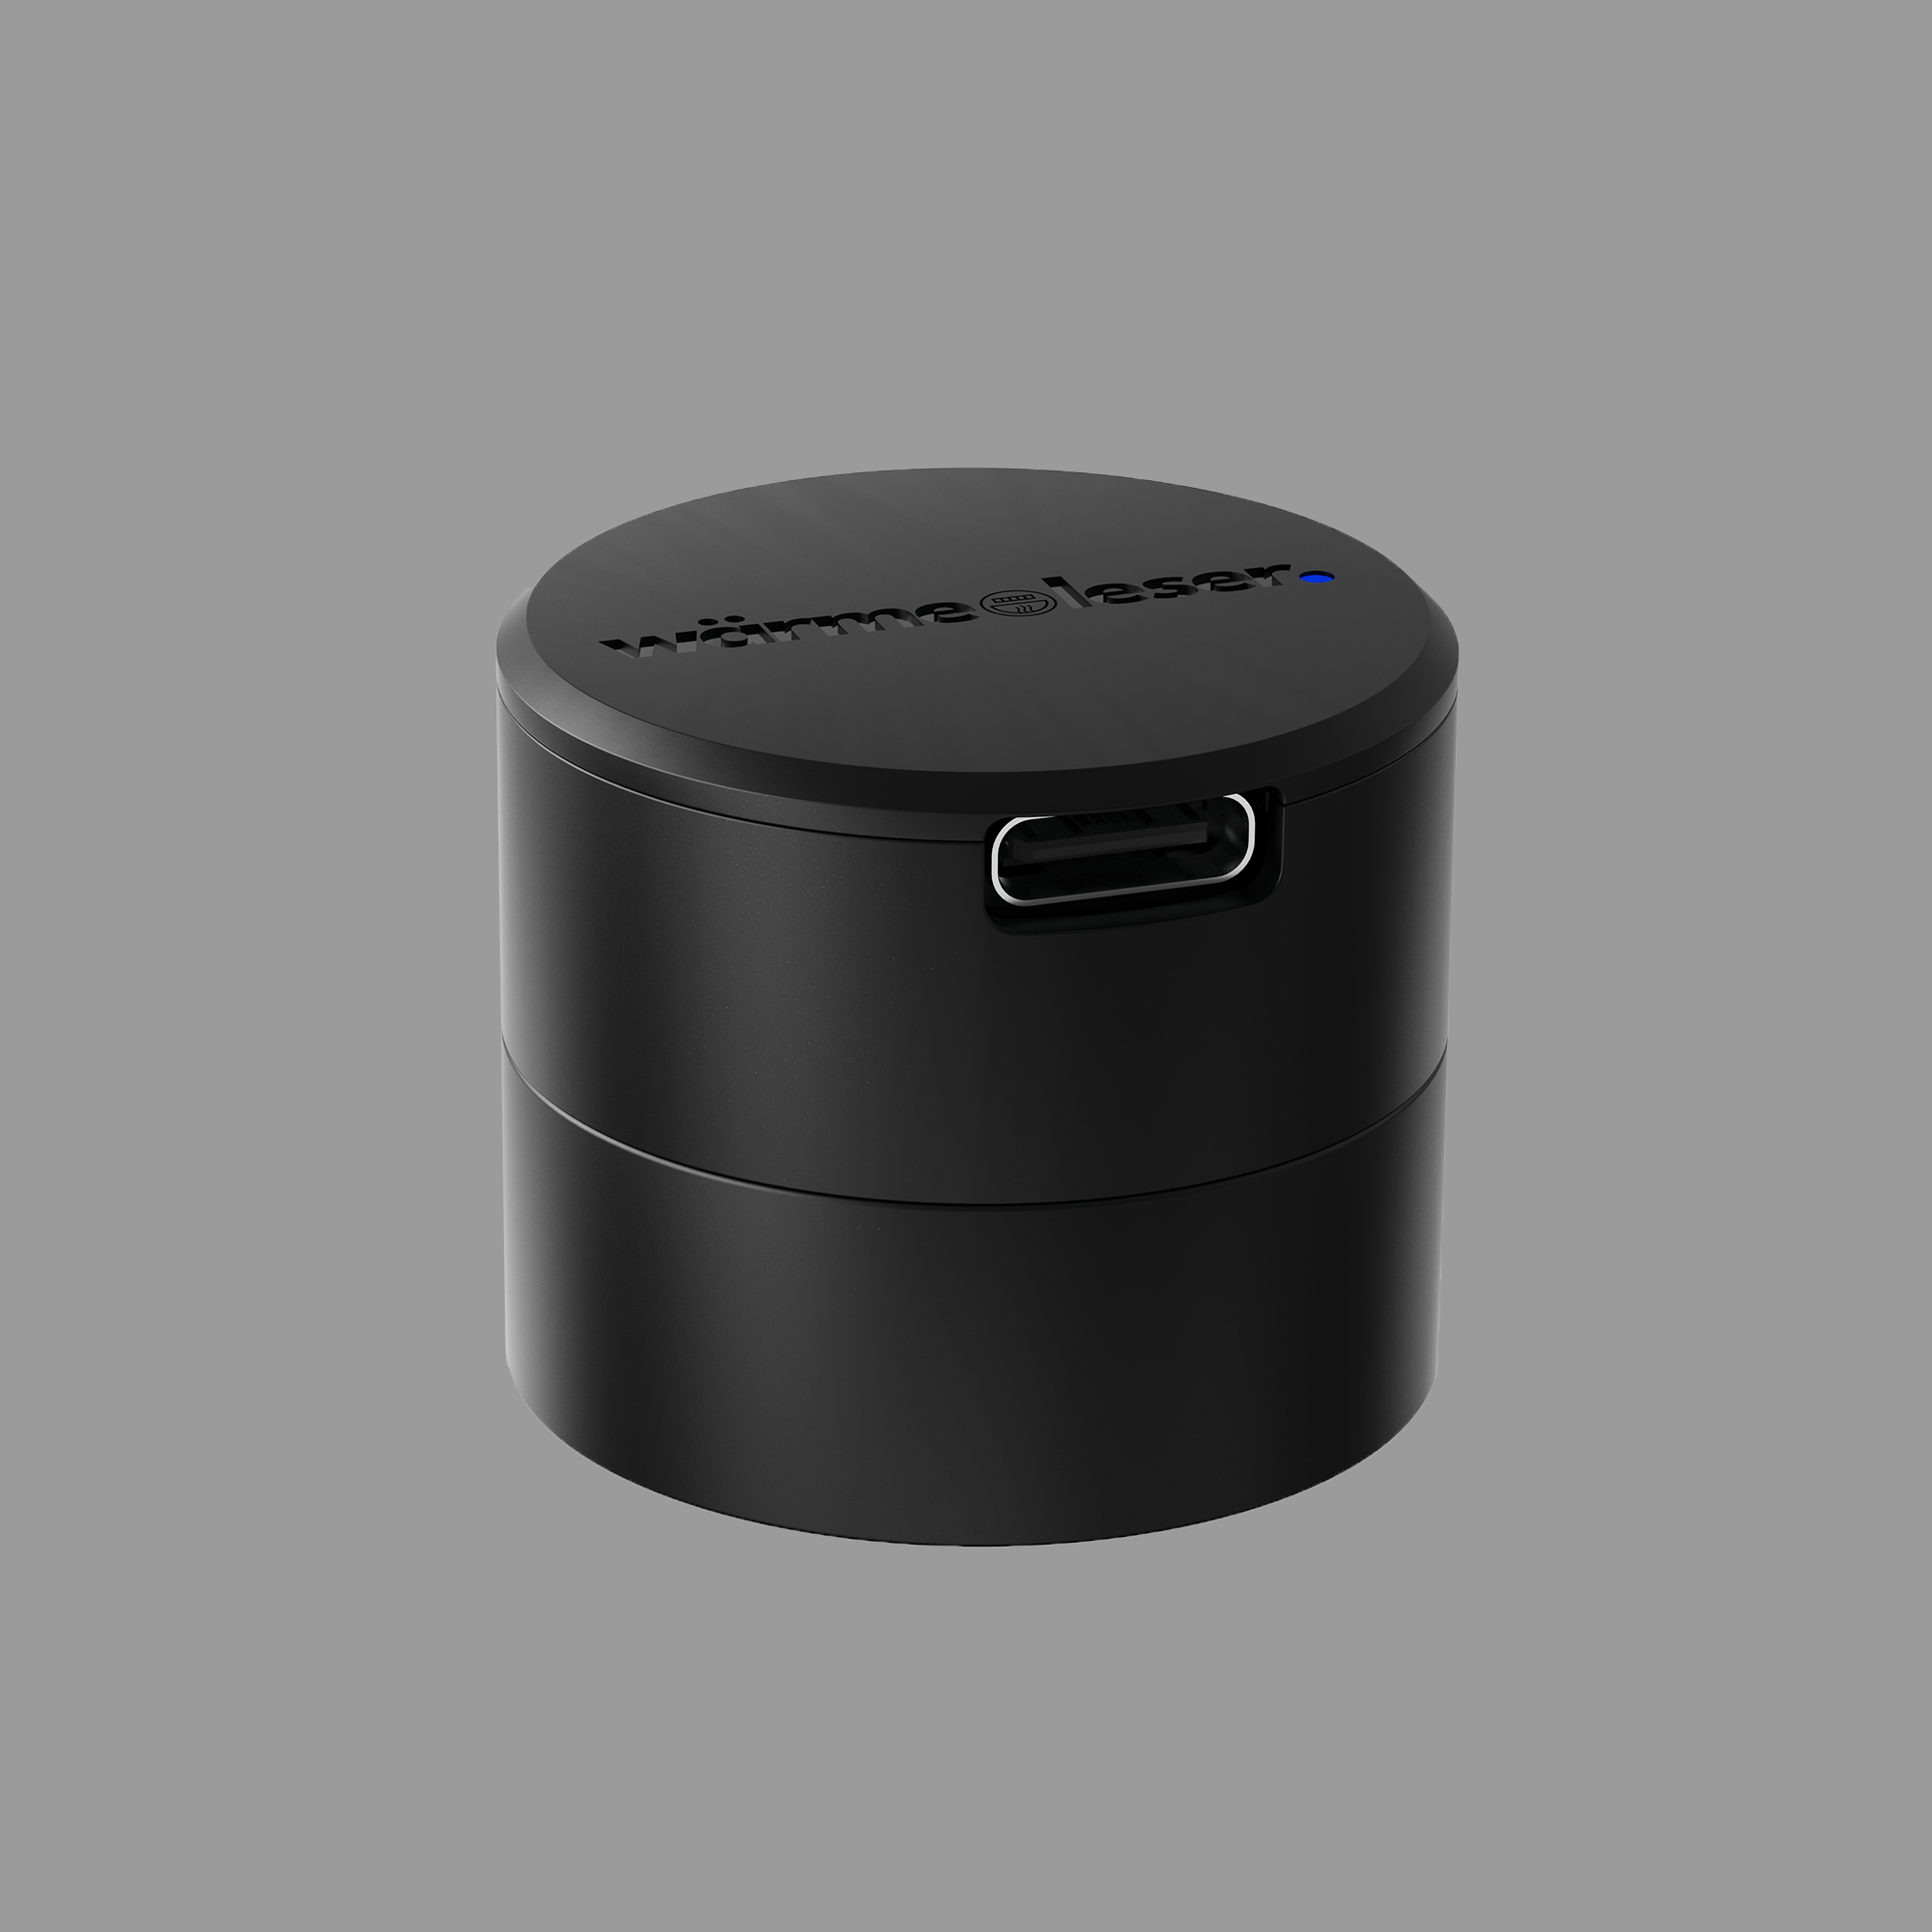

heat reader.
- Monitoring of heat consumption & heating costs
- Plug & Play – no electrician required, any number of heat readers can be used simultaneously in the app
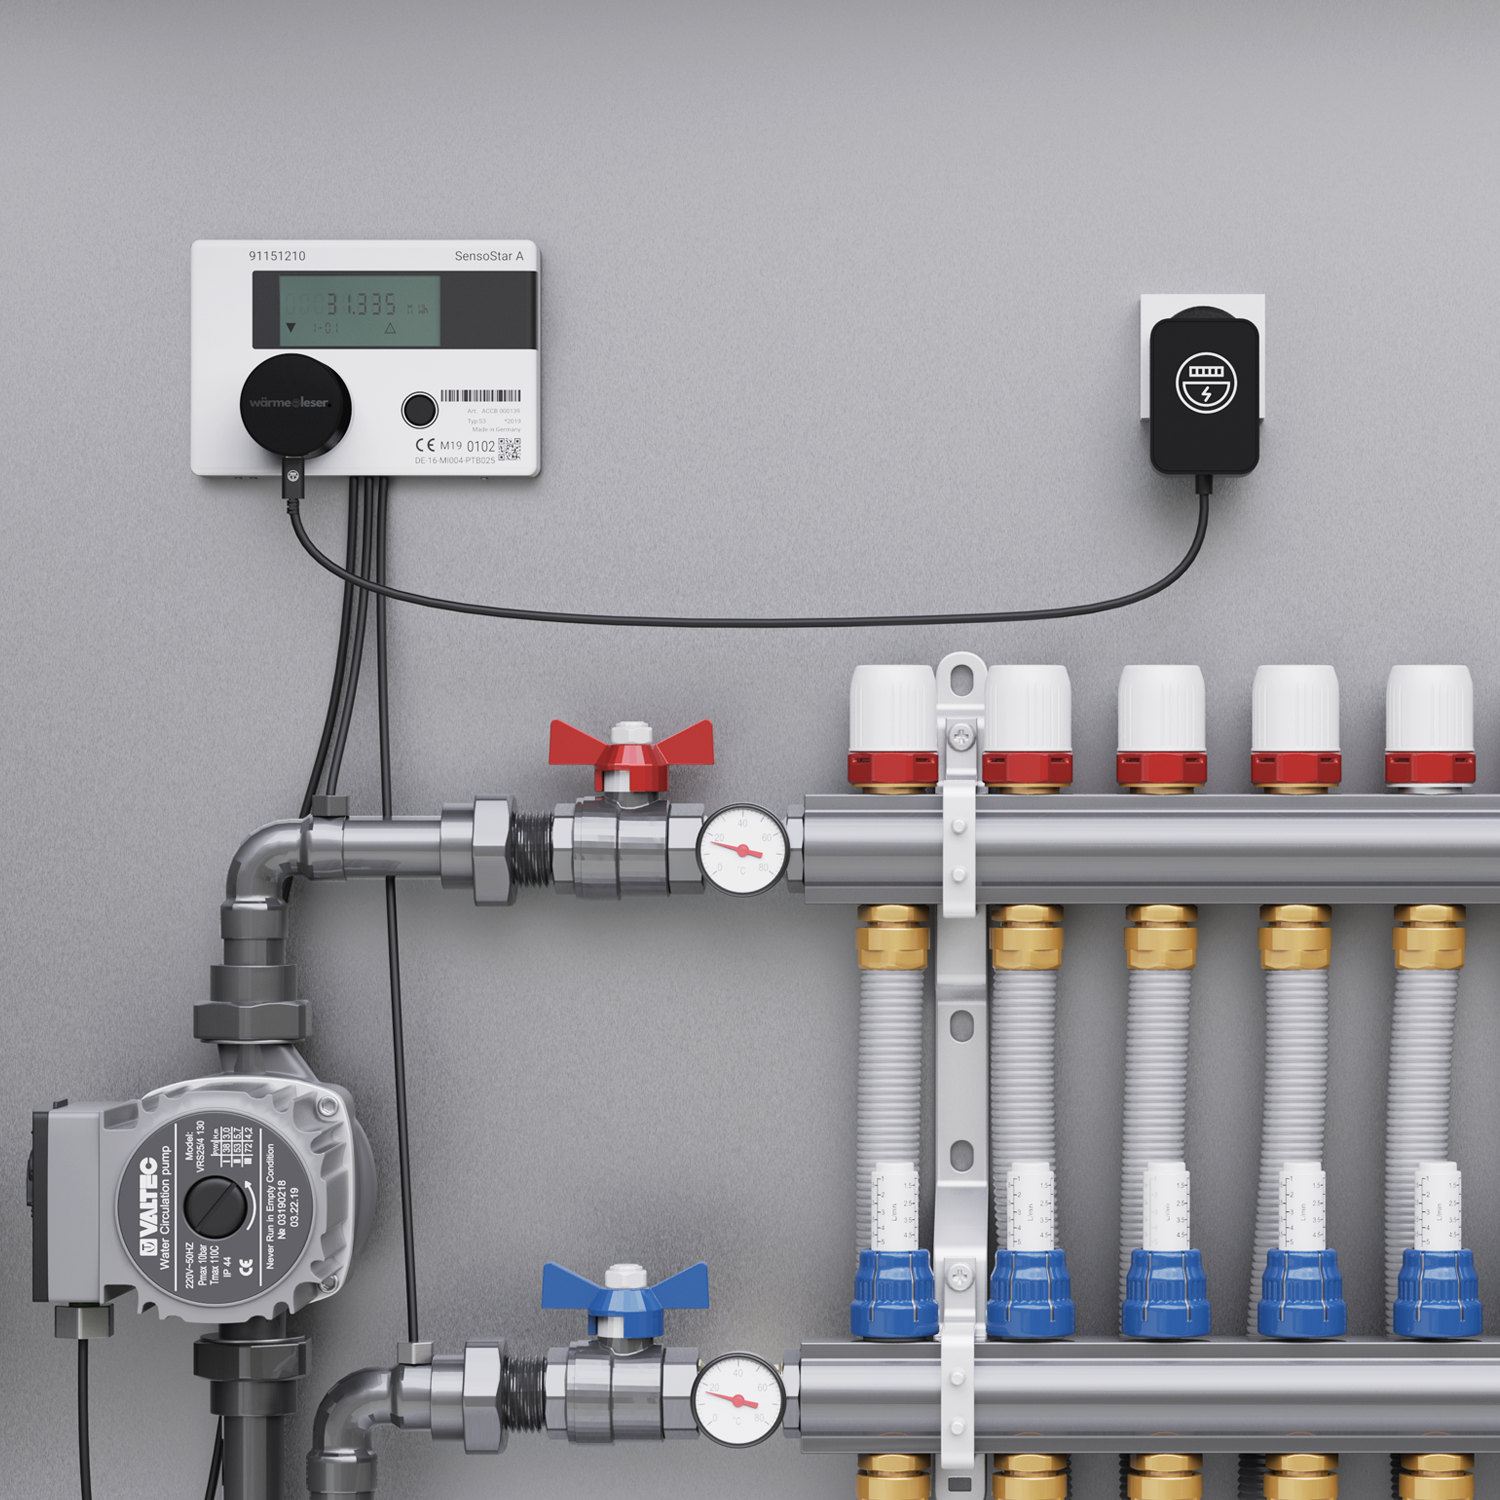
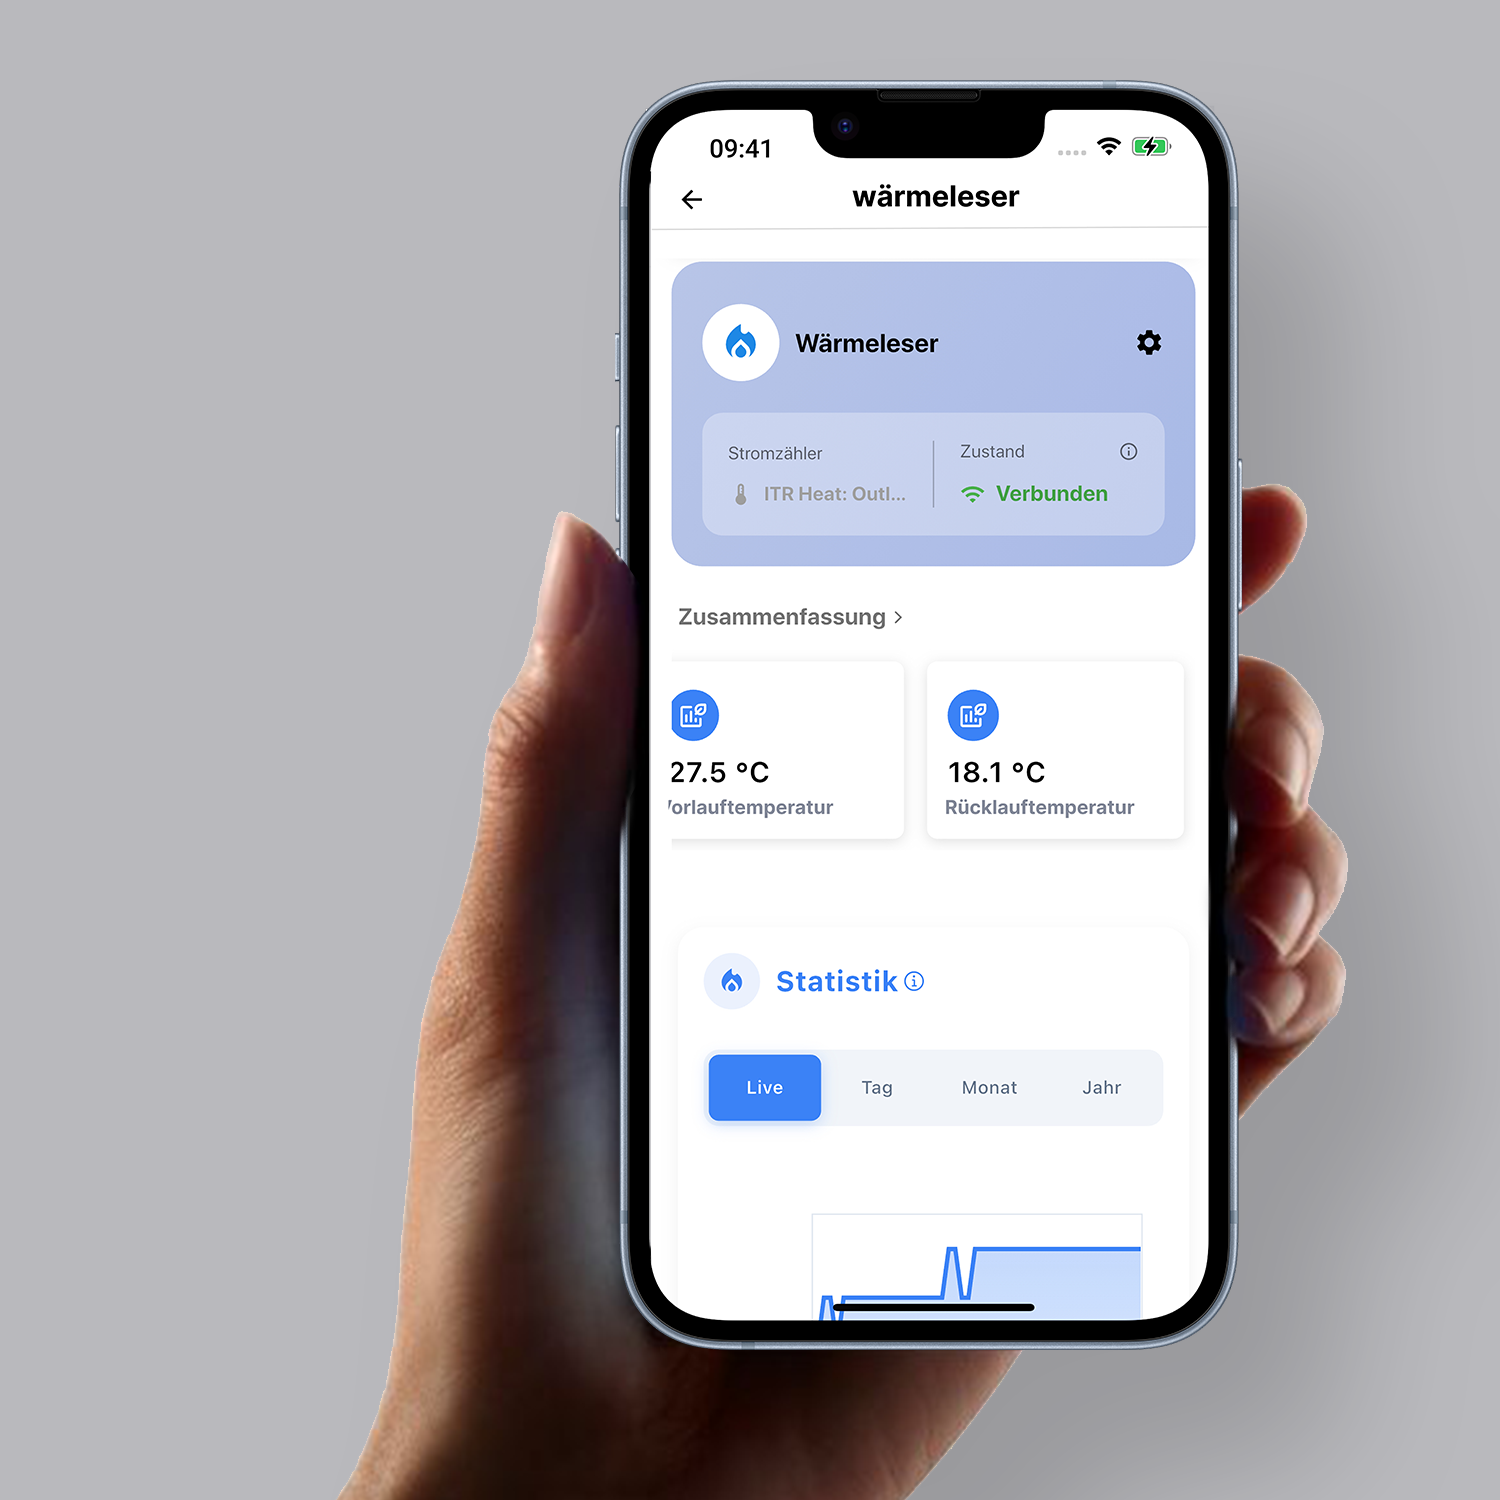
- Flow rate, supply/return temperature & heat output live with diagrams in the app
- Power socket & Wi-Fi reception required at the meter location
-
Home Assistant Integration available
Attention: Many heat meters typically transmit only up to 4 readings per day. The actual update frequency depends on the meter. Activate the energy-saving mode in the app to optimally adjust data transmission.
Comprehensive instructions and documentation
If you're unsure whether your heat meter is compatible, simply send us a photo to info@energieleser.de . We're also available to answer any other questions you may have – for example, regarding installation – at 0711 39687998.
Find out here if your heat meter is compatible.

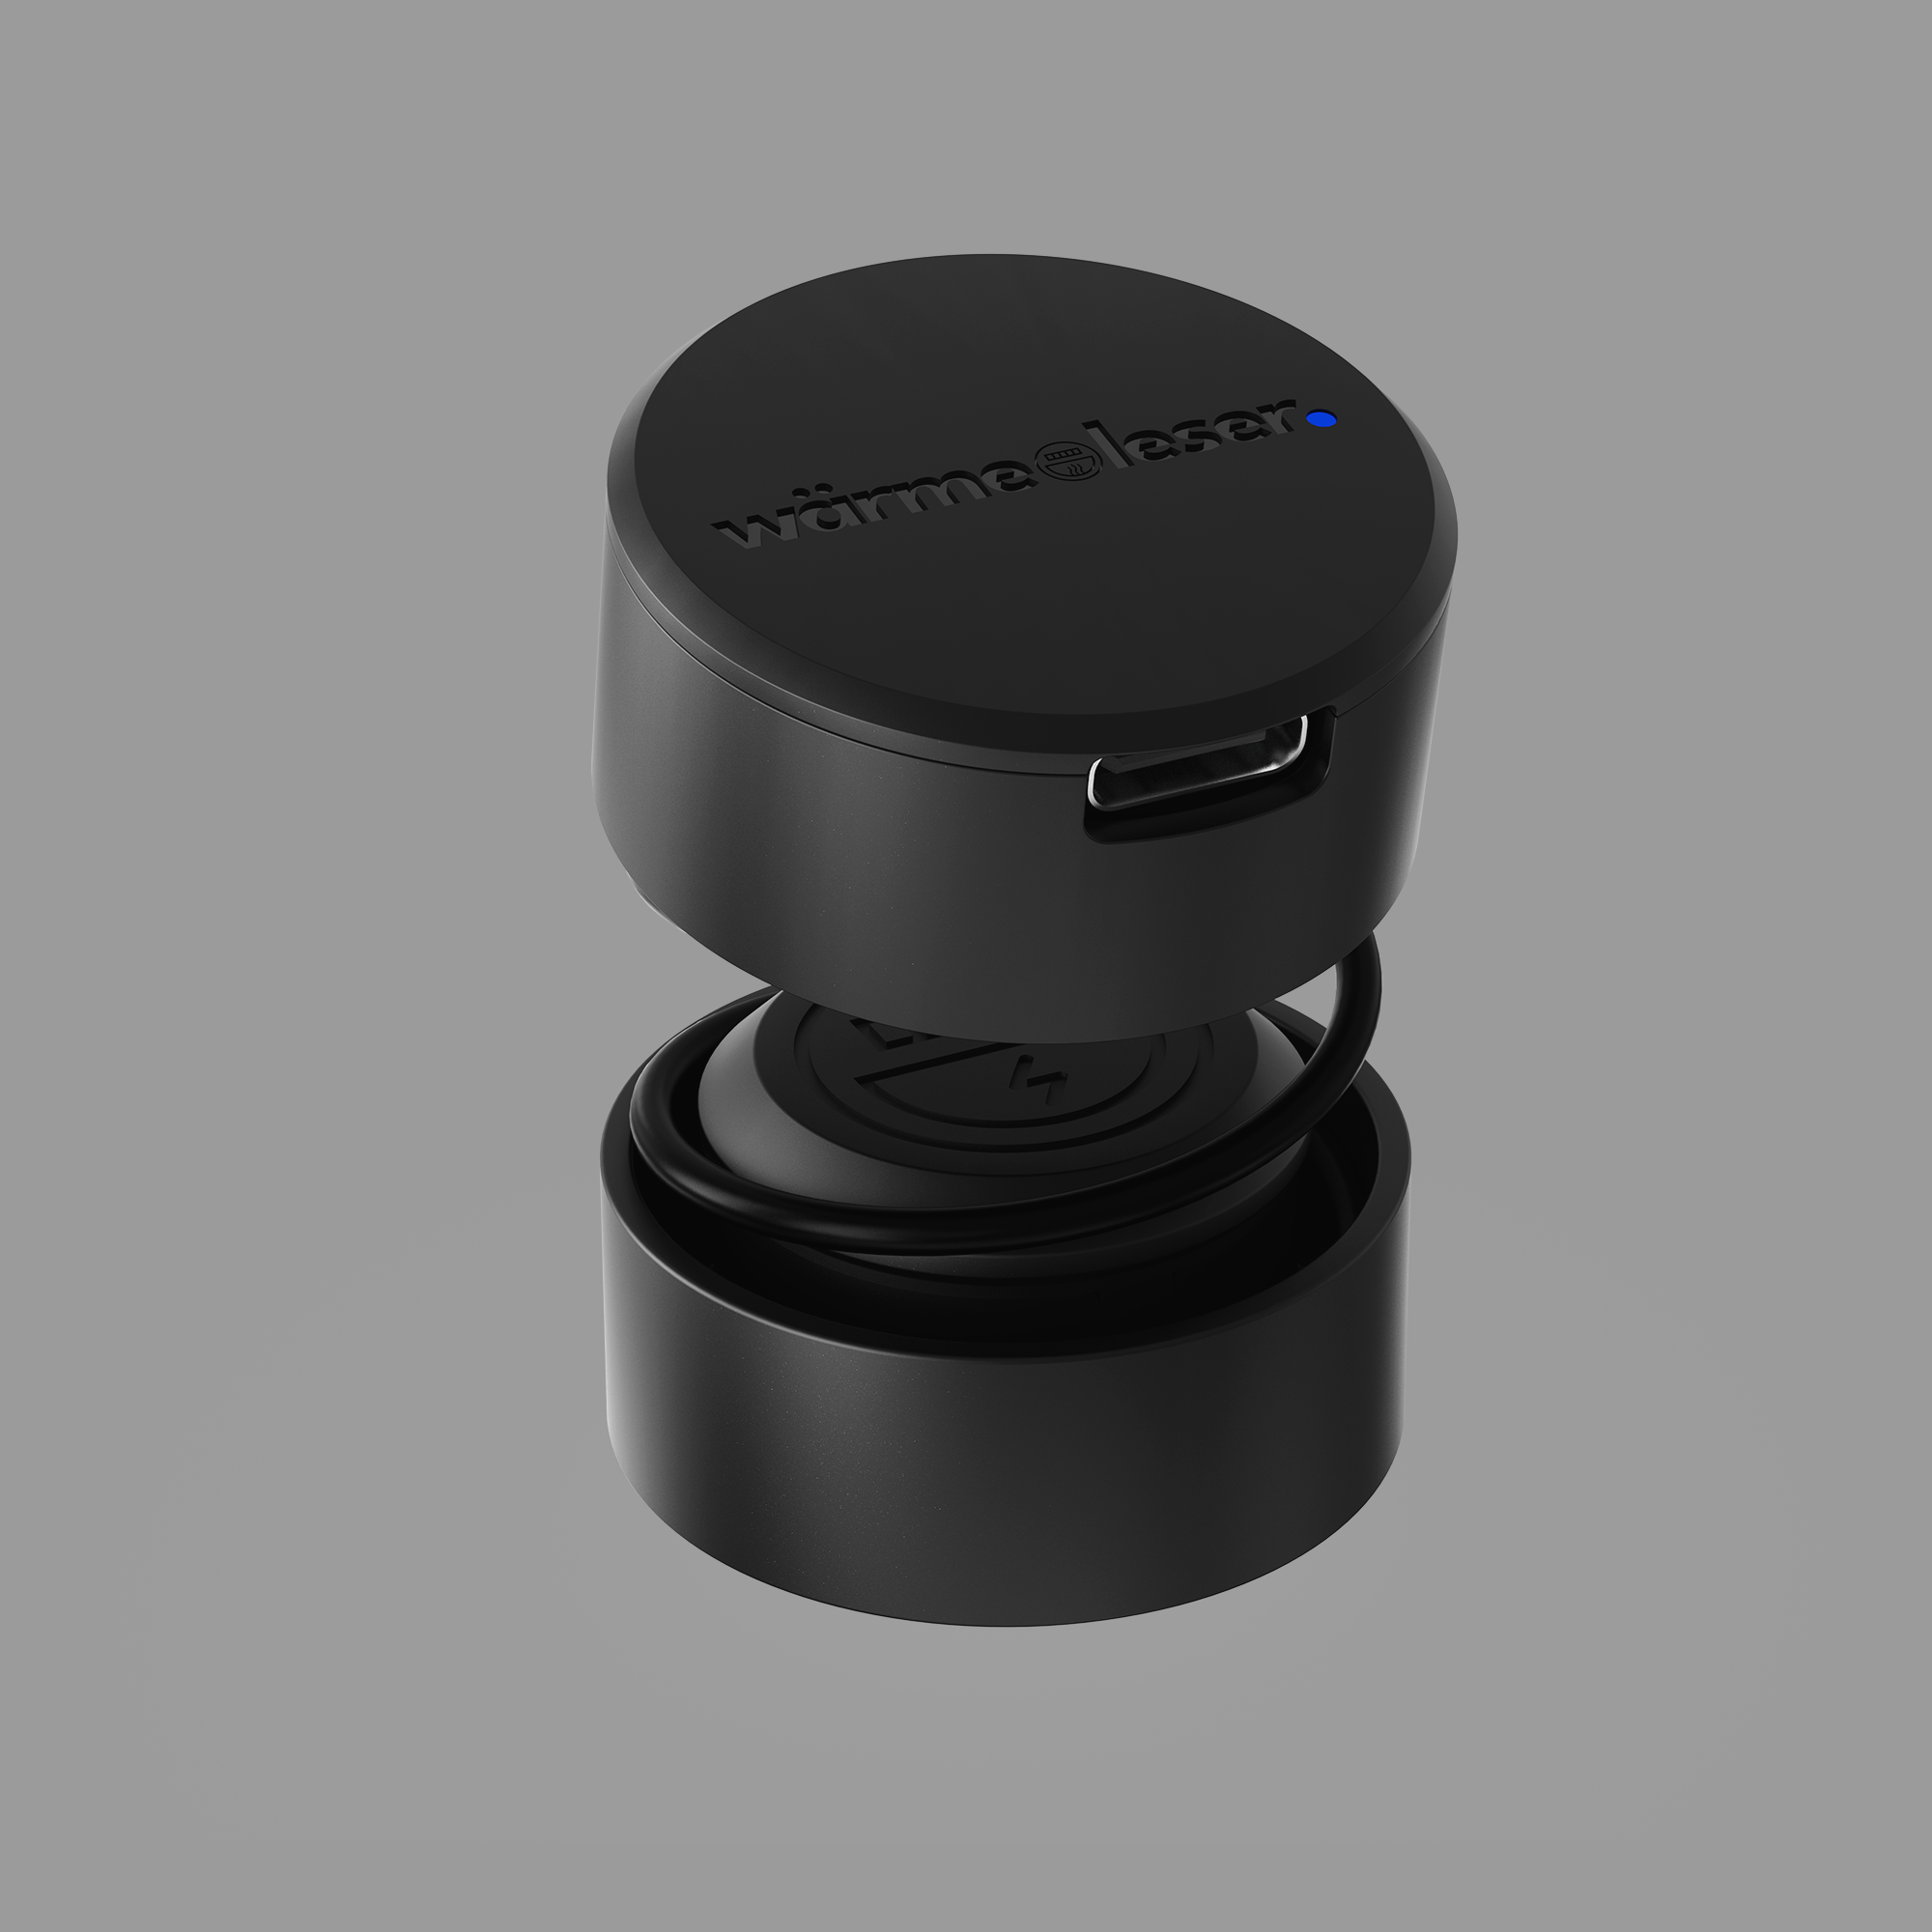
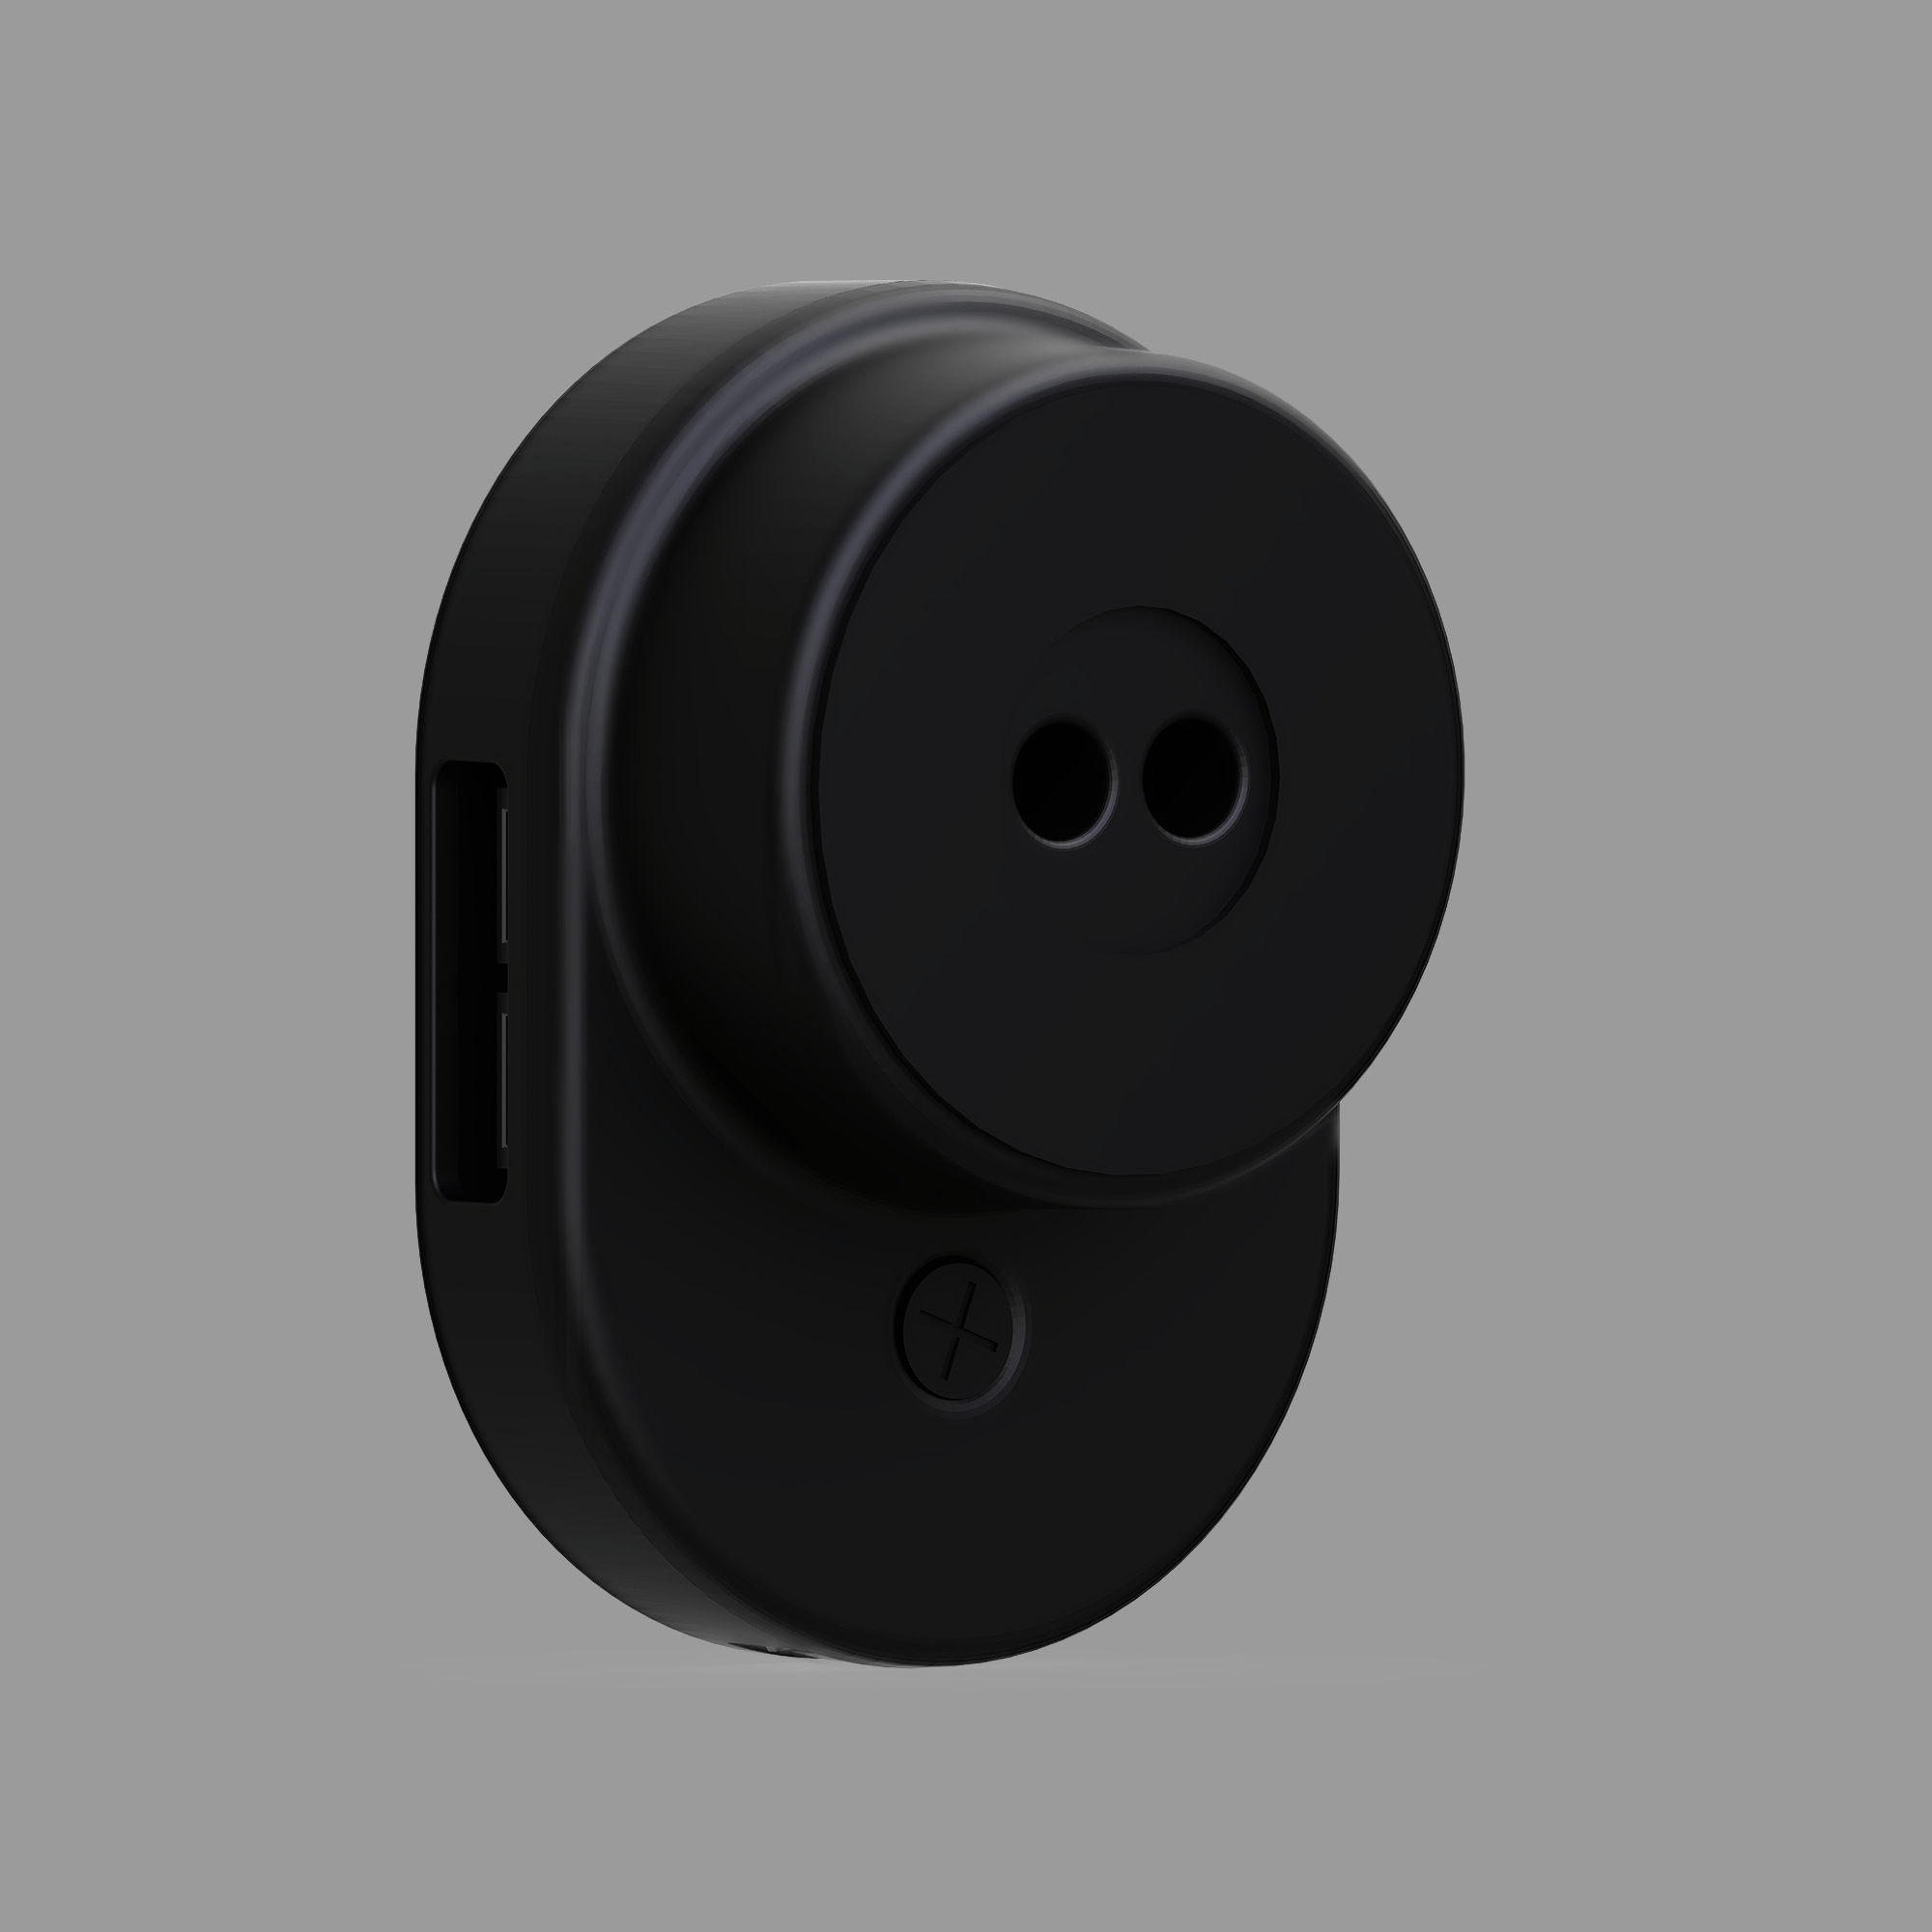
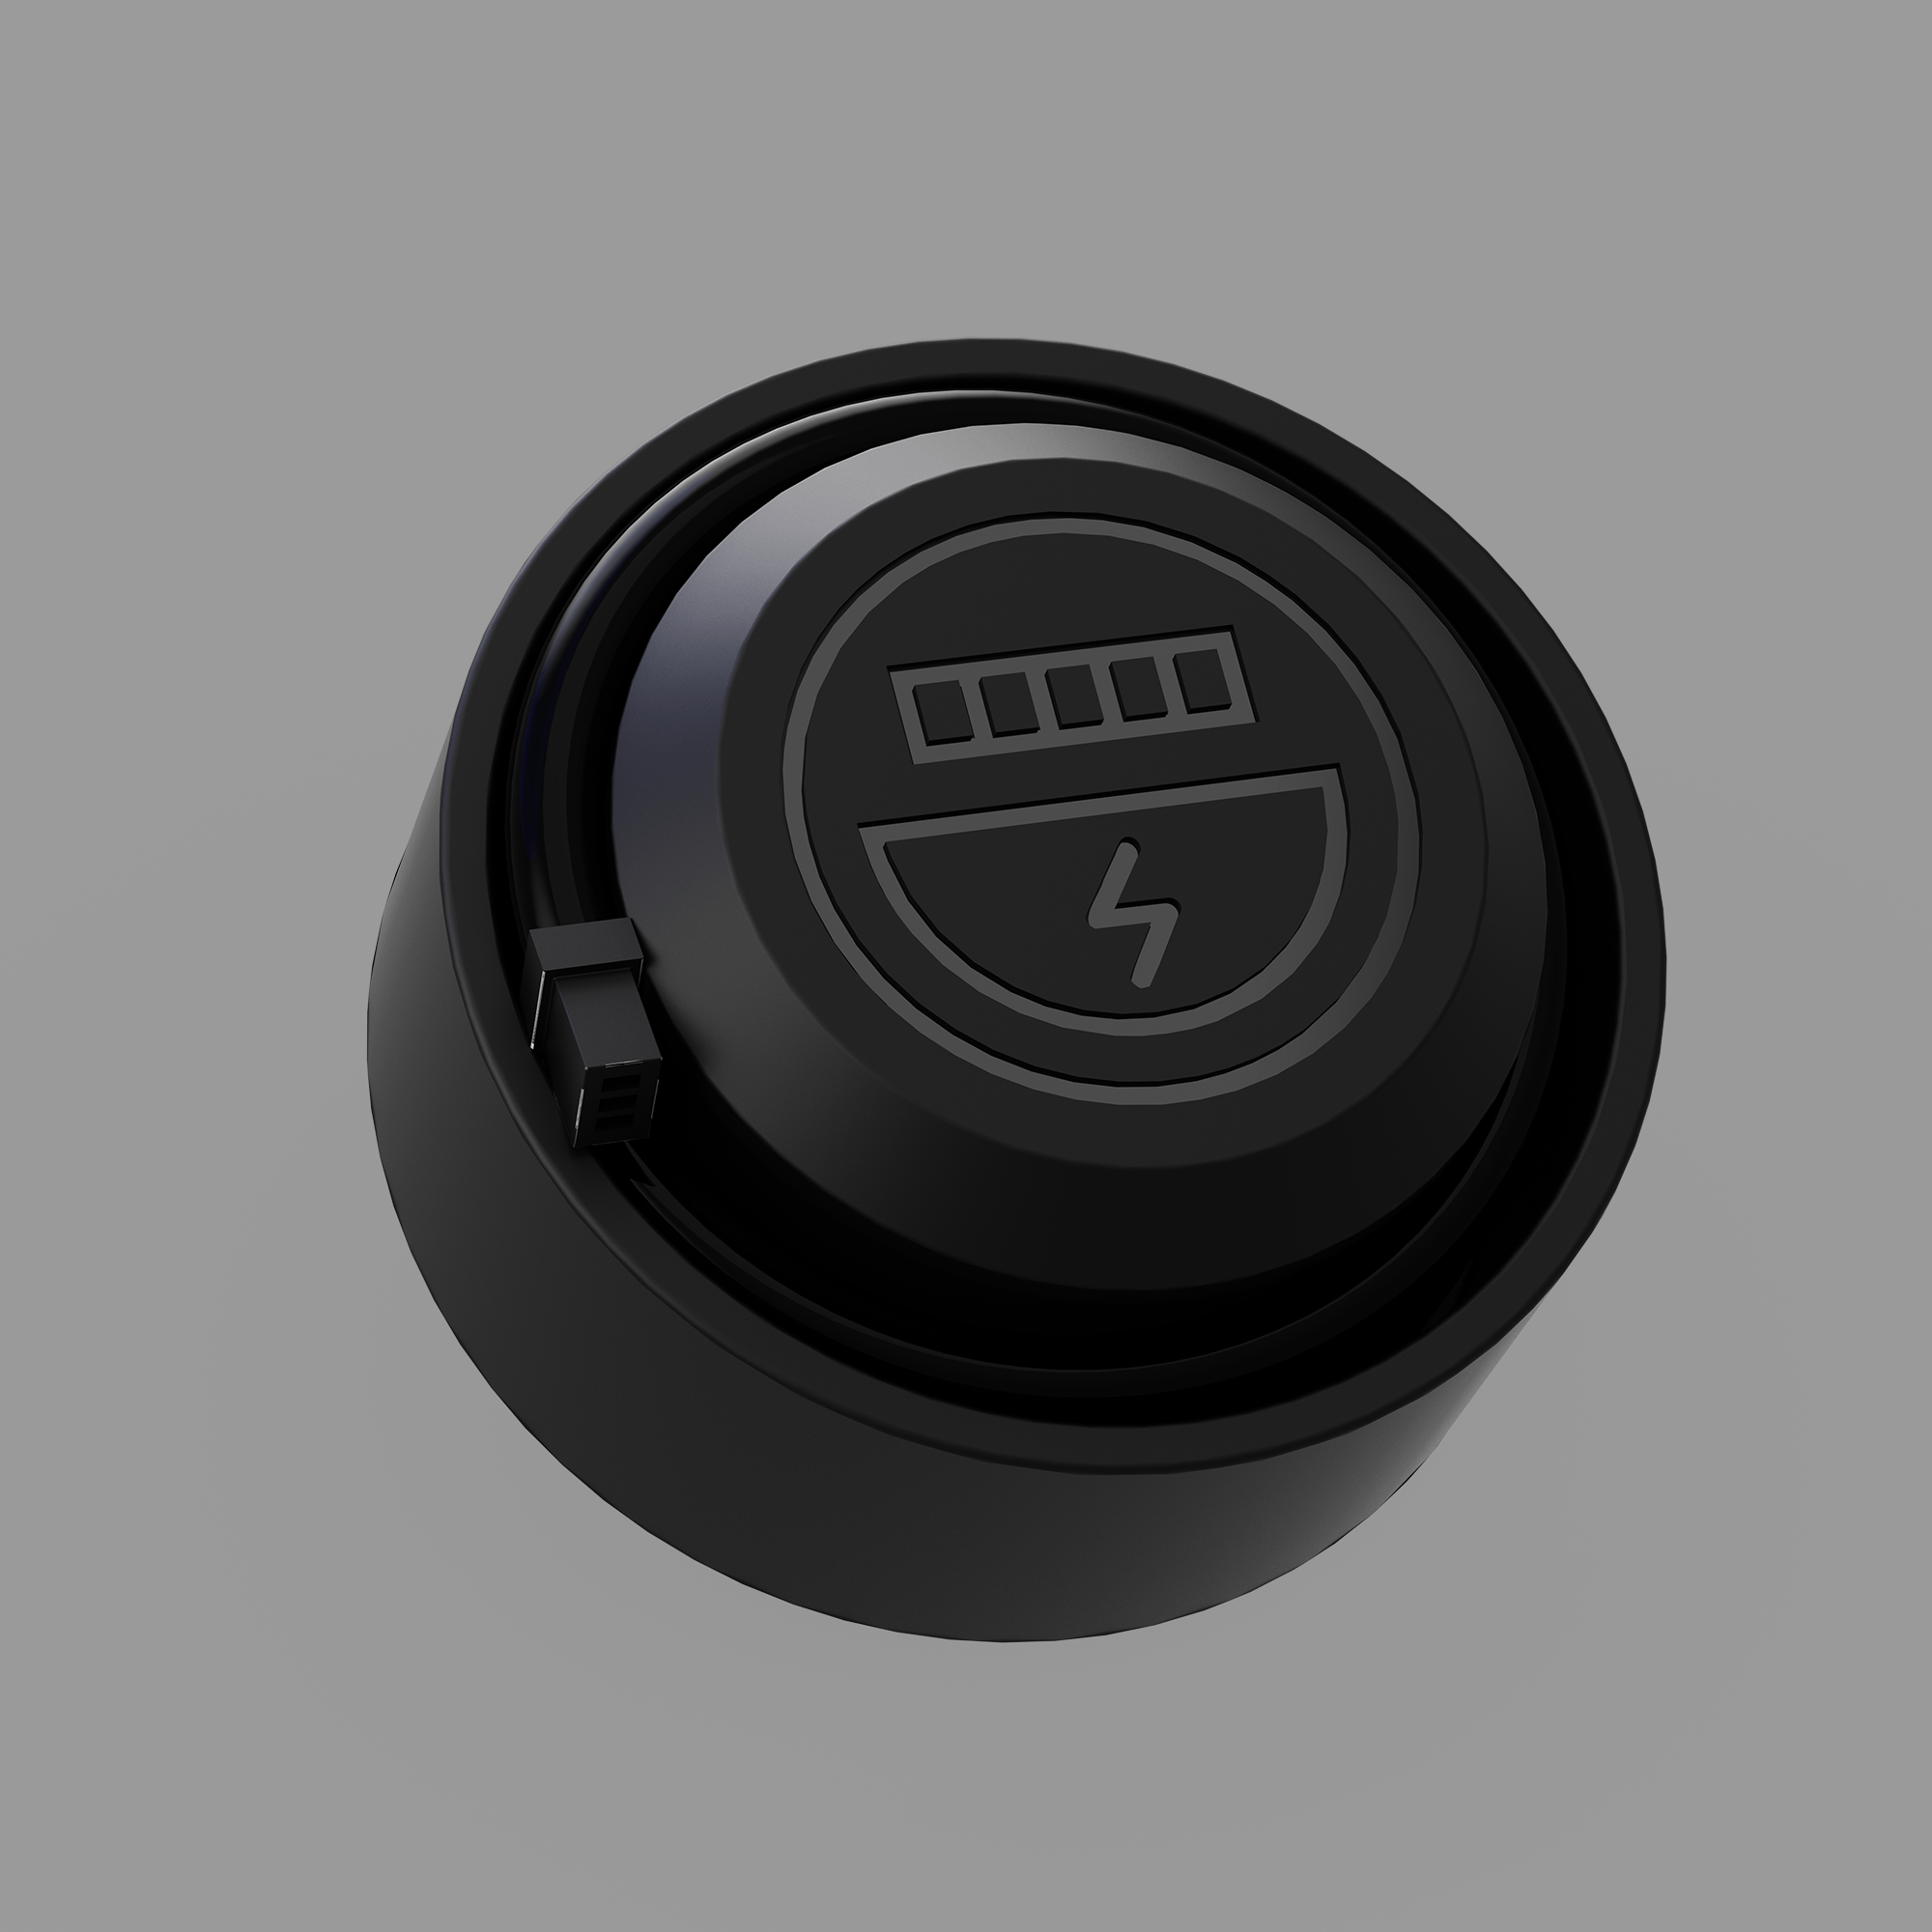
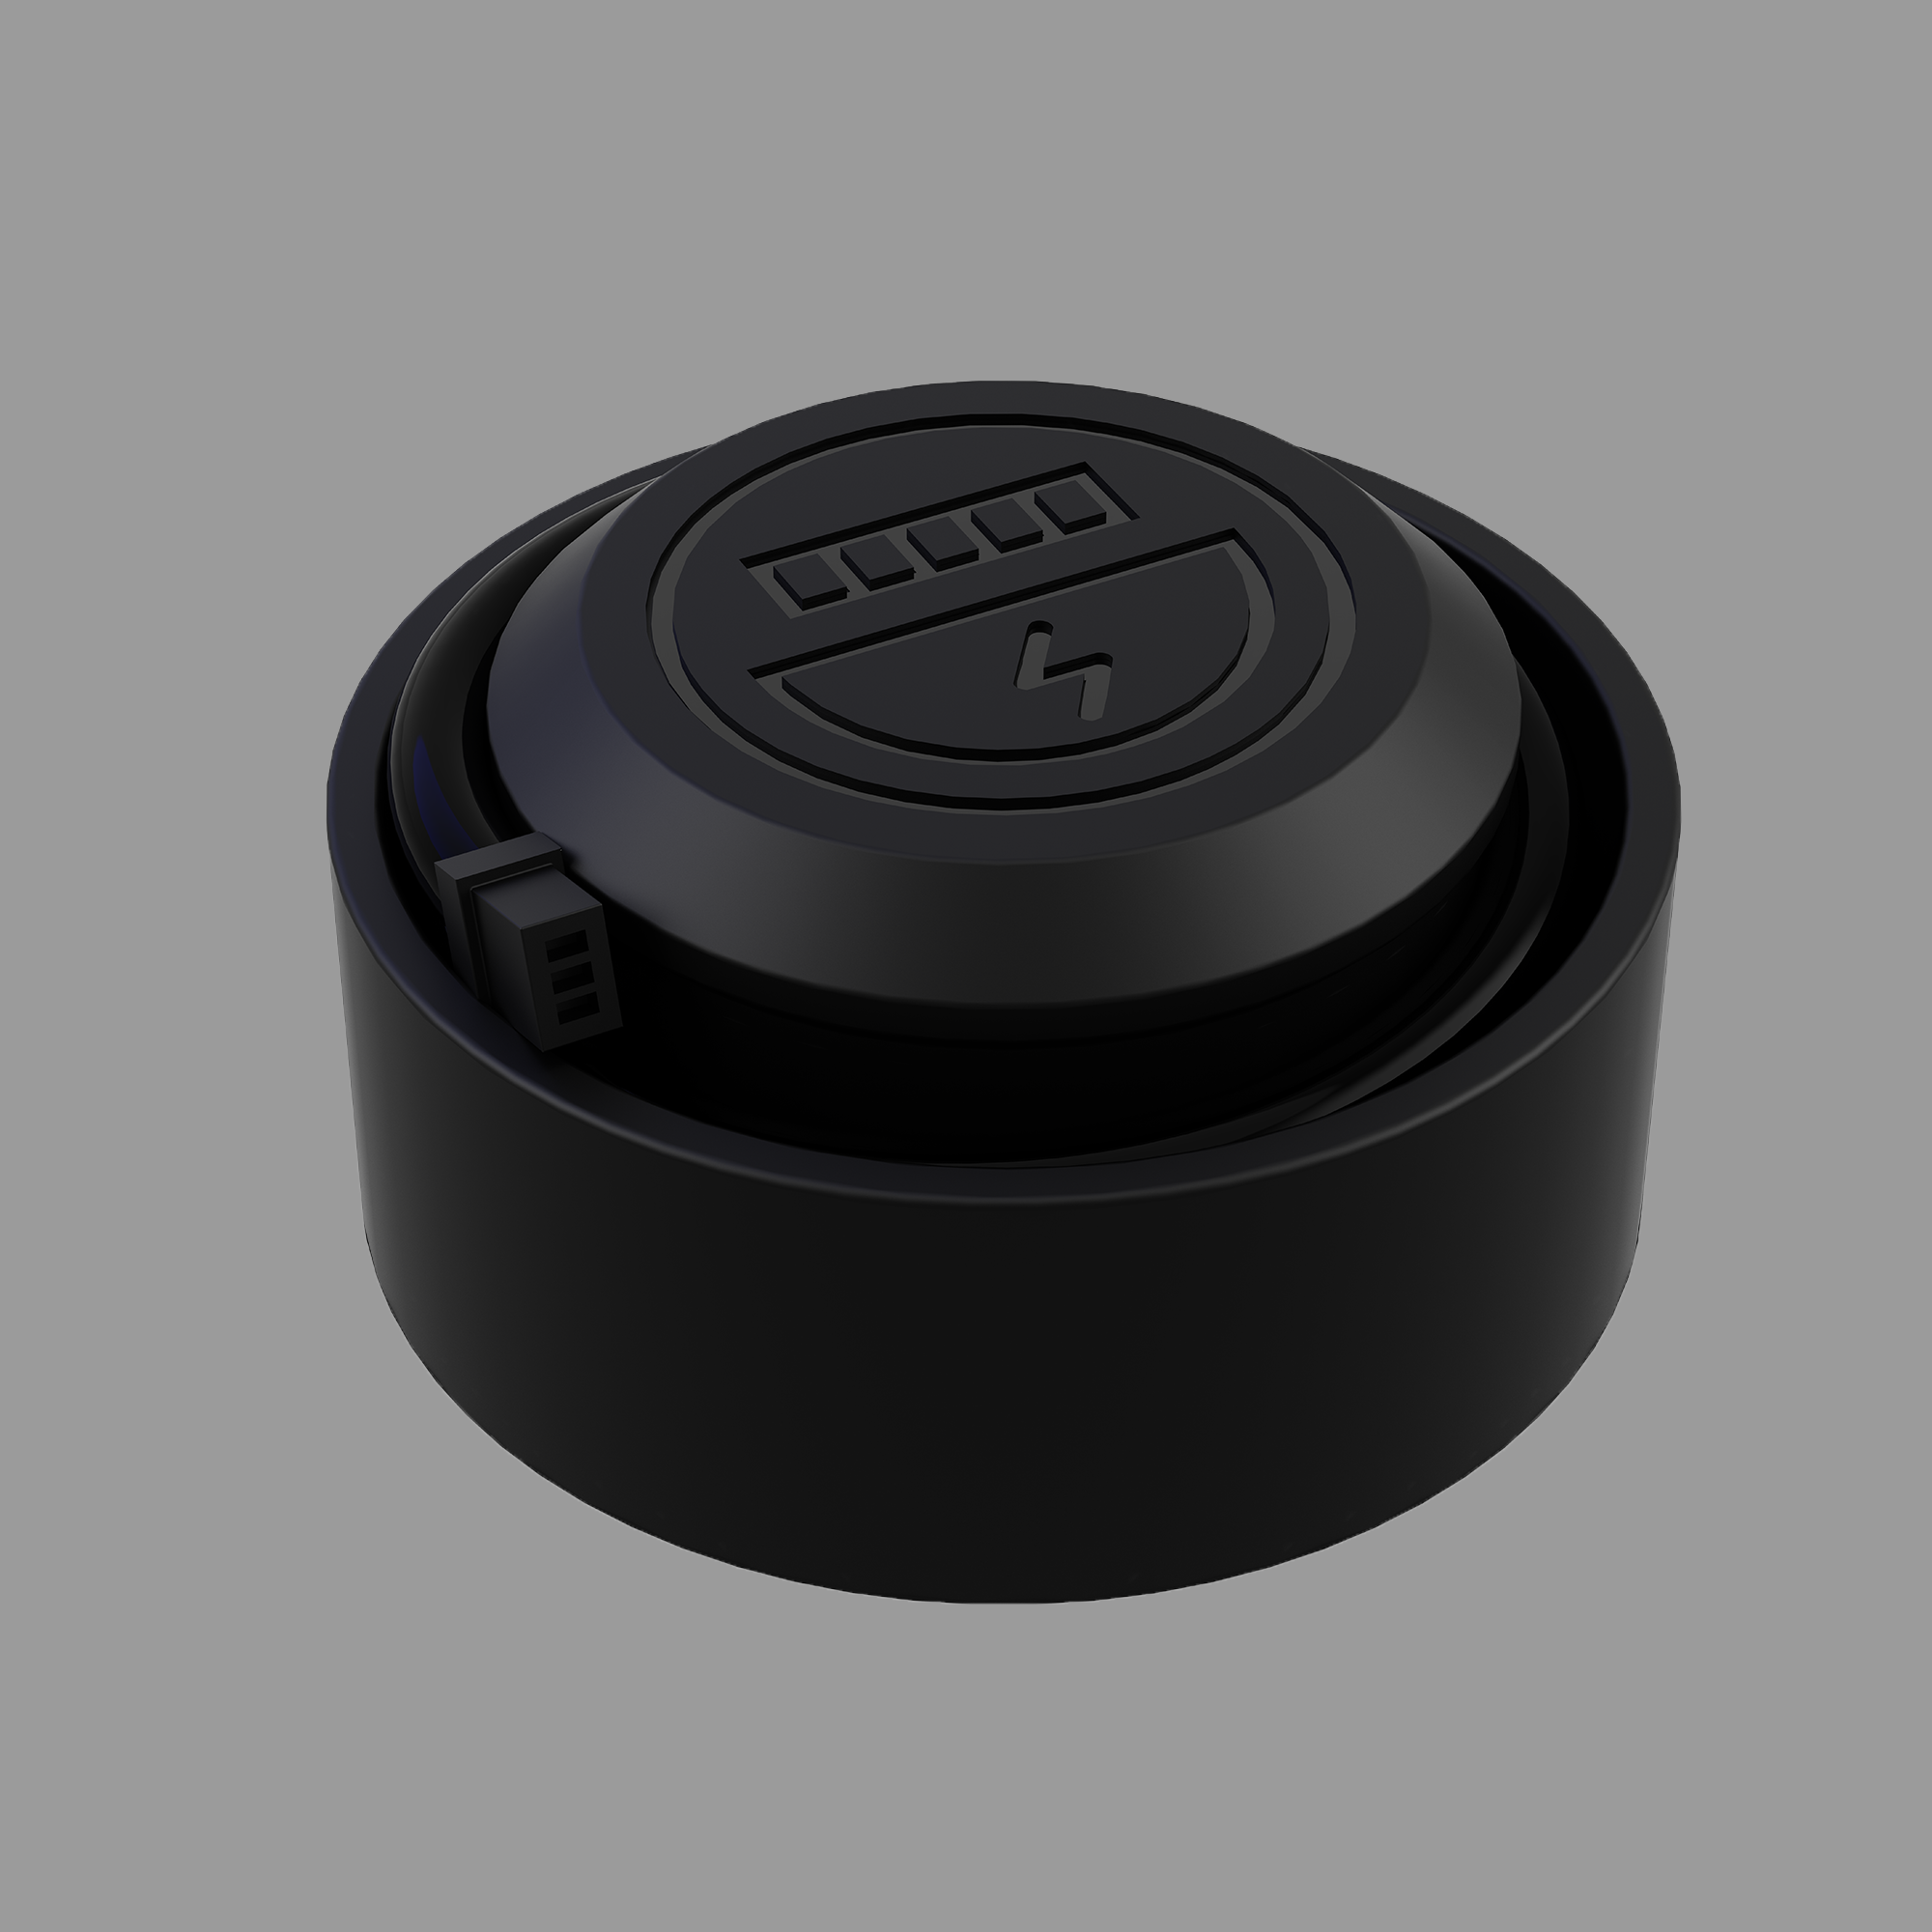
TTL module with metal disc
It detects the optical pulses from your heat meter and transmits the data to the WIFI module in real time.
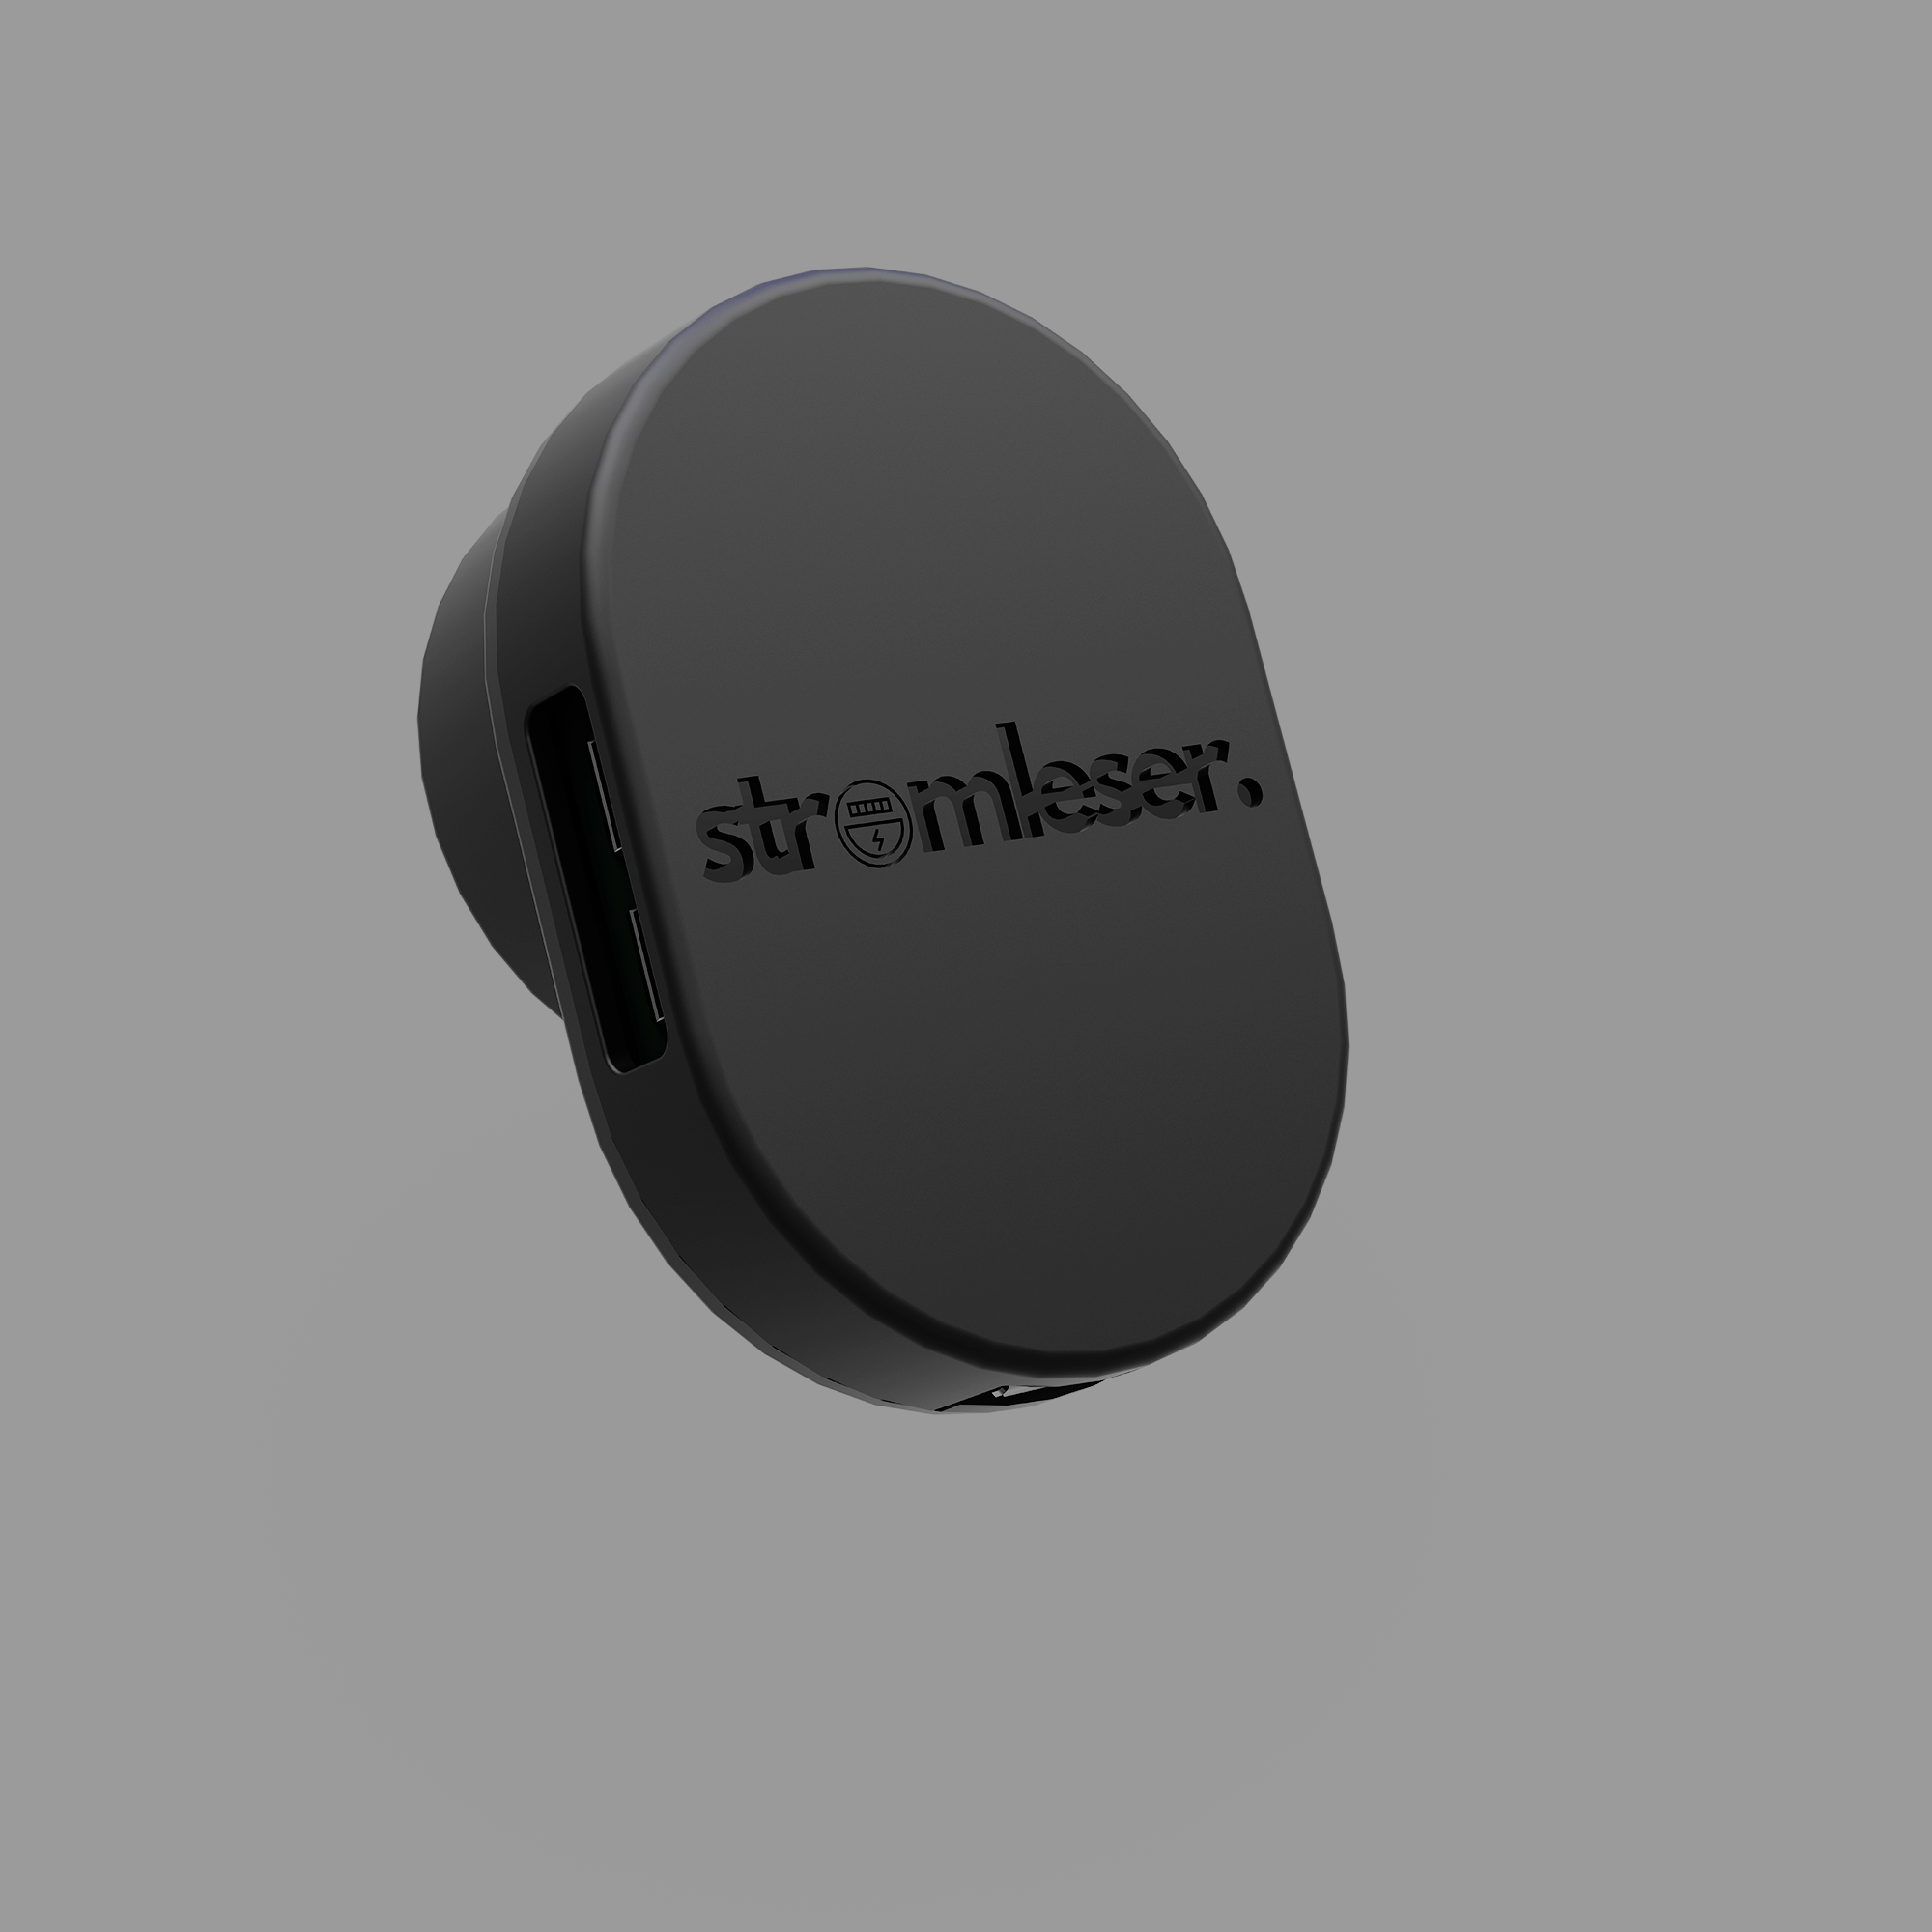
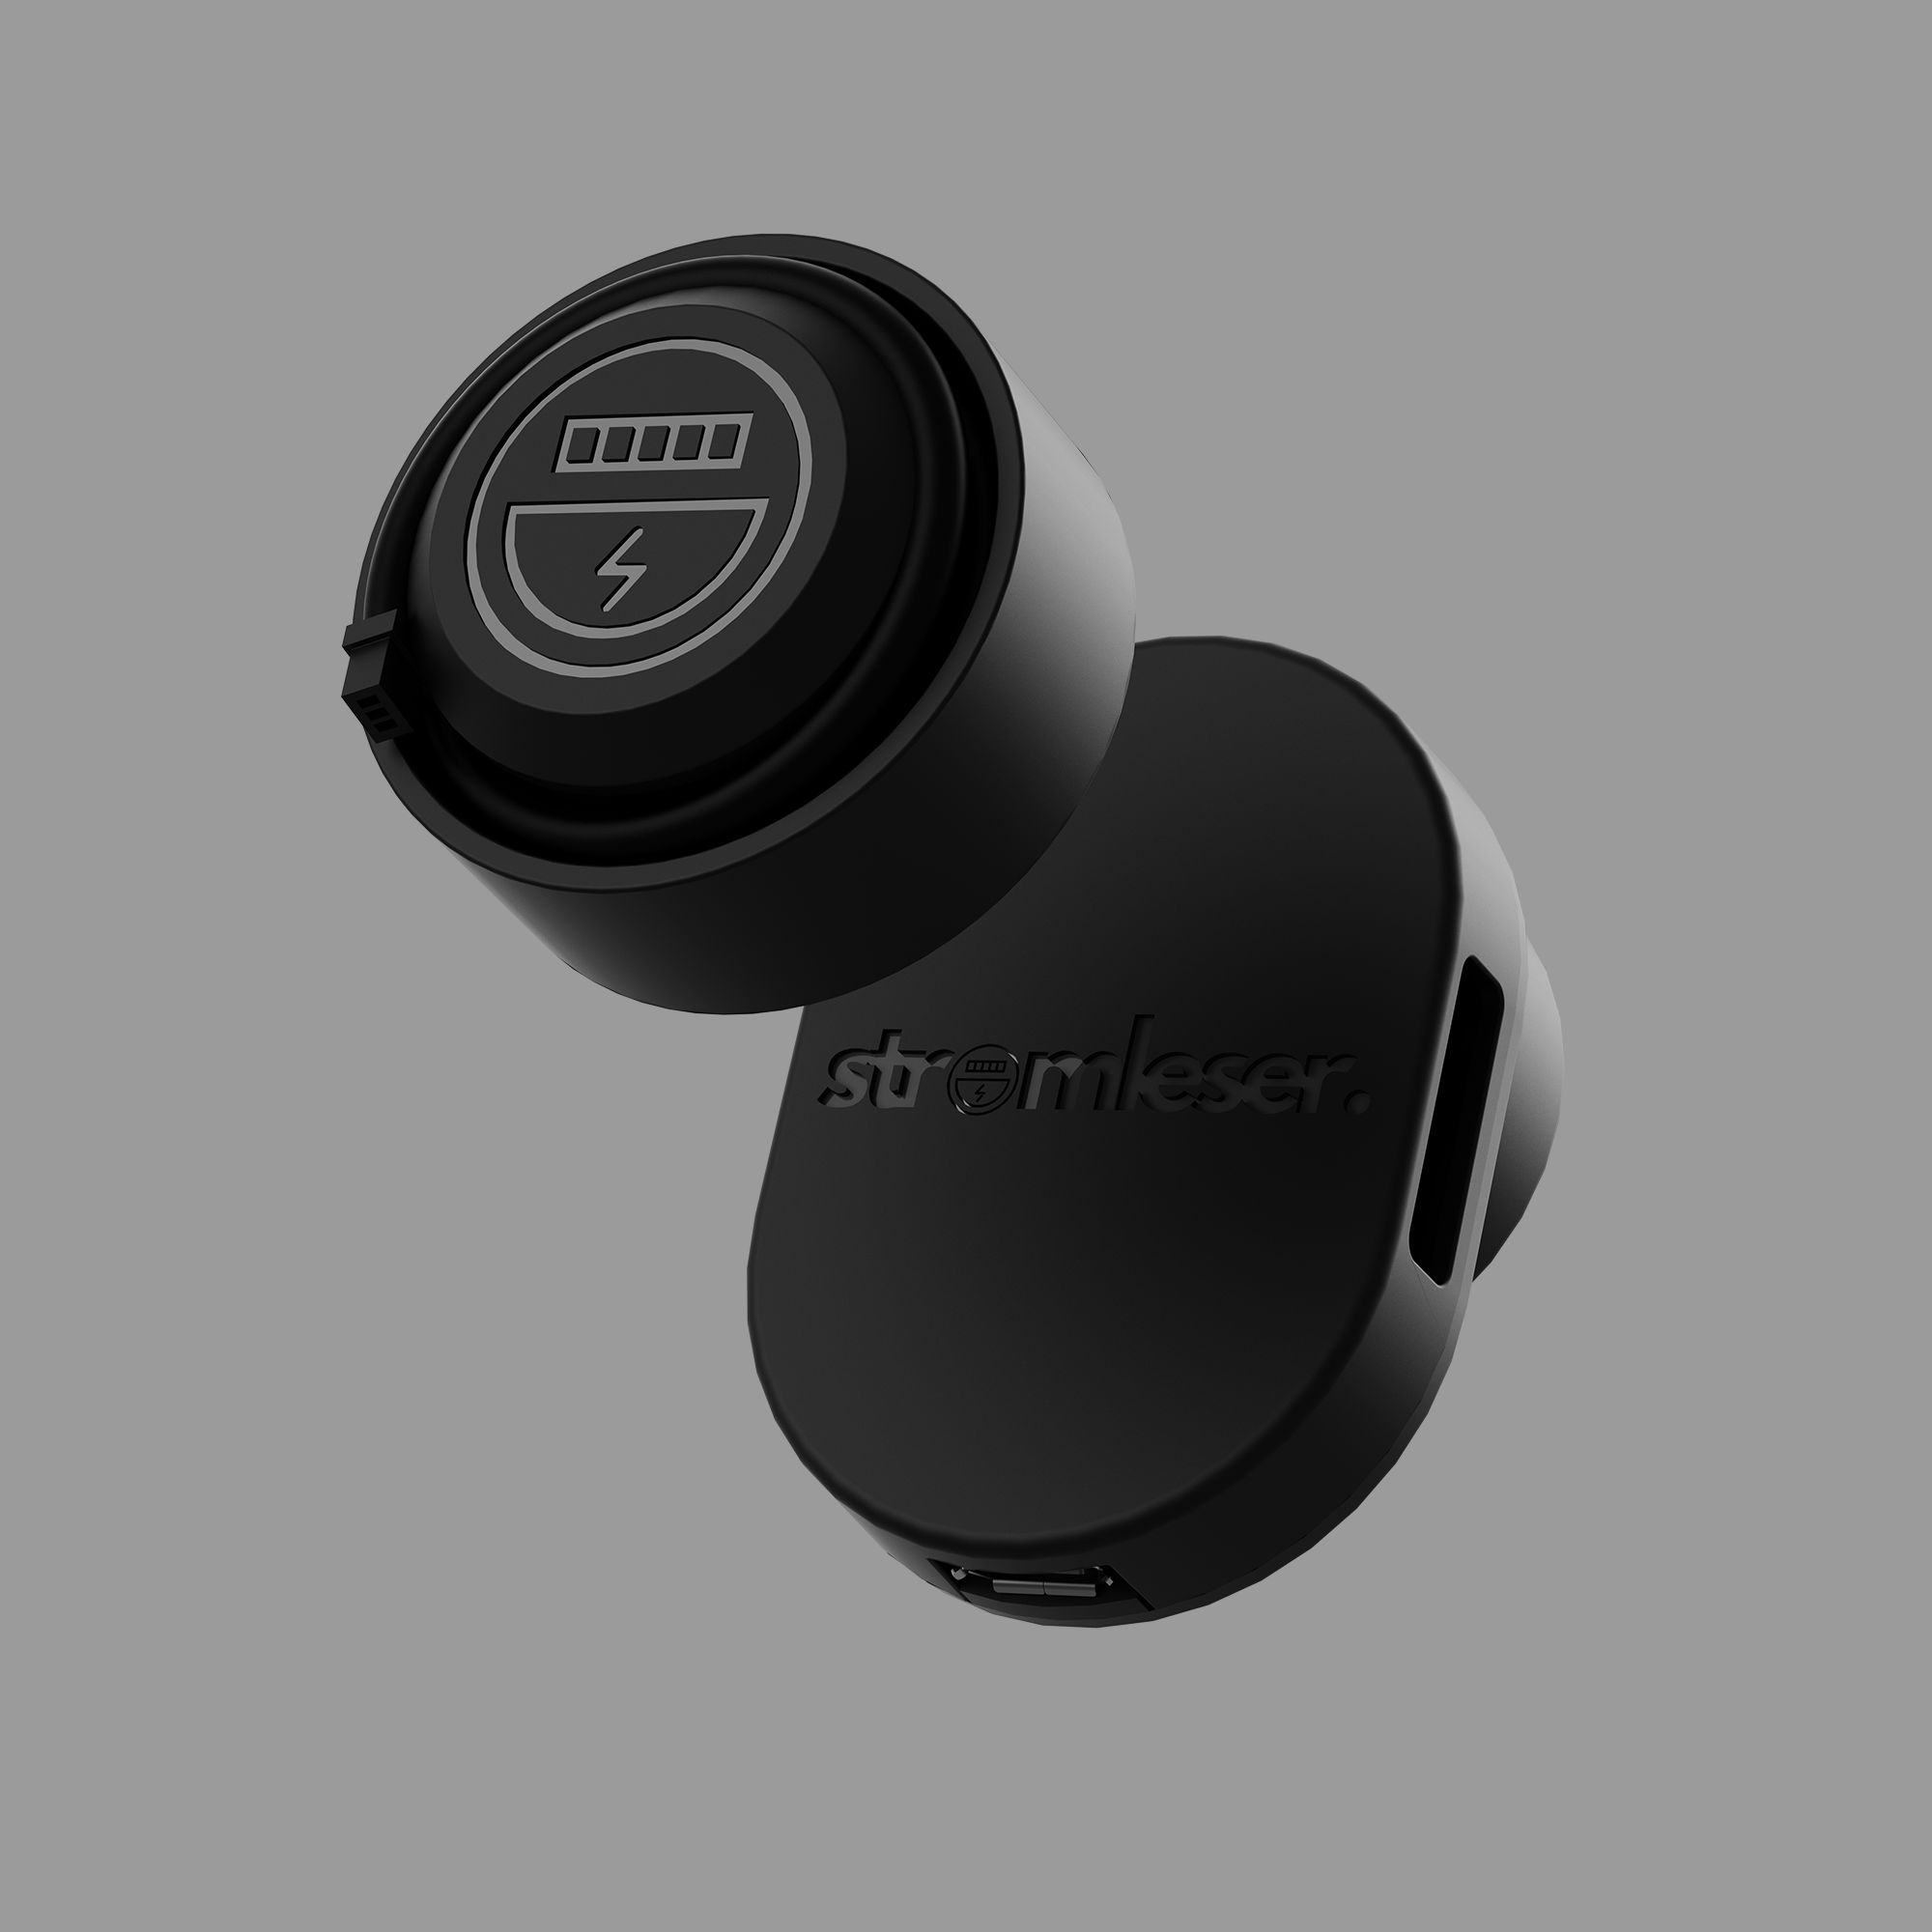
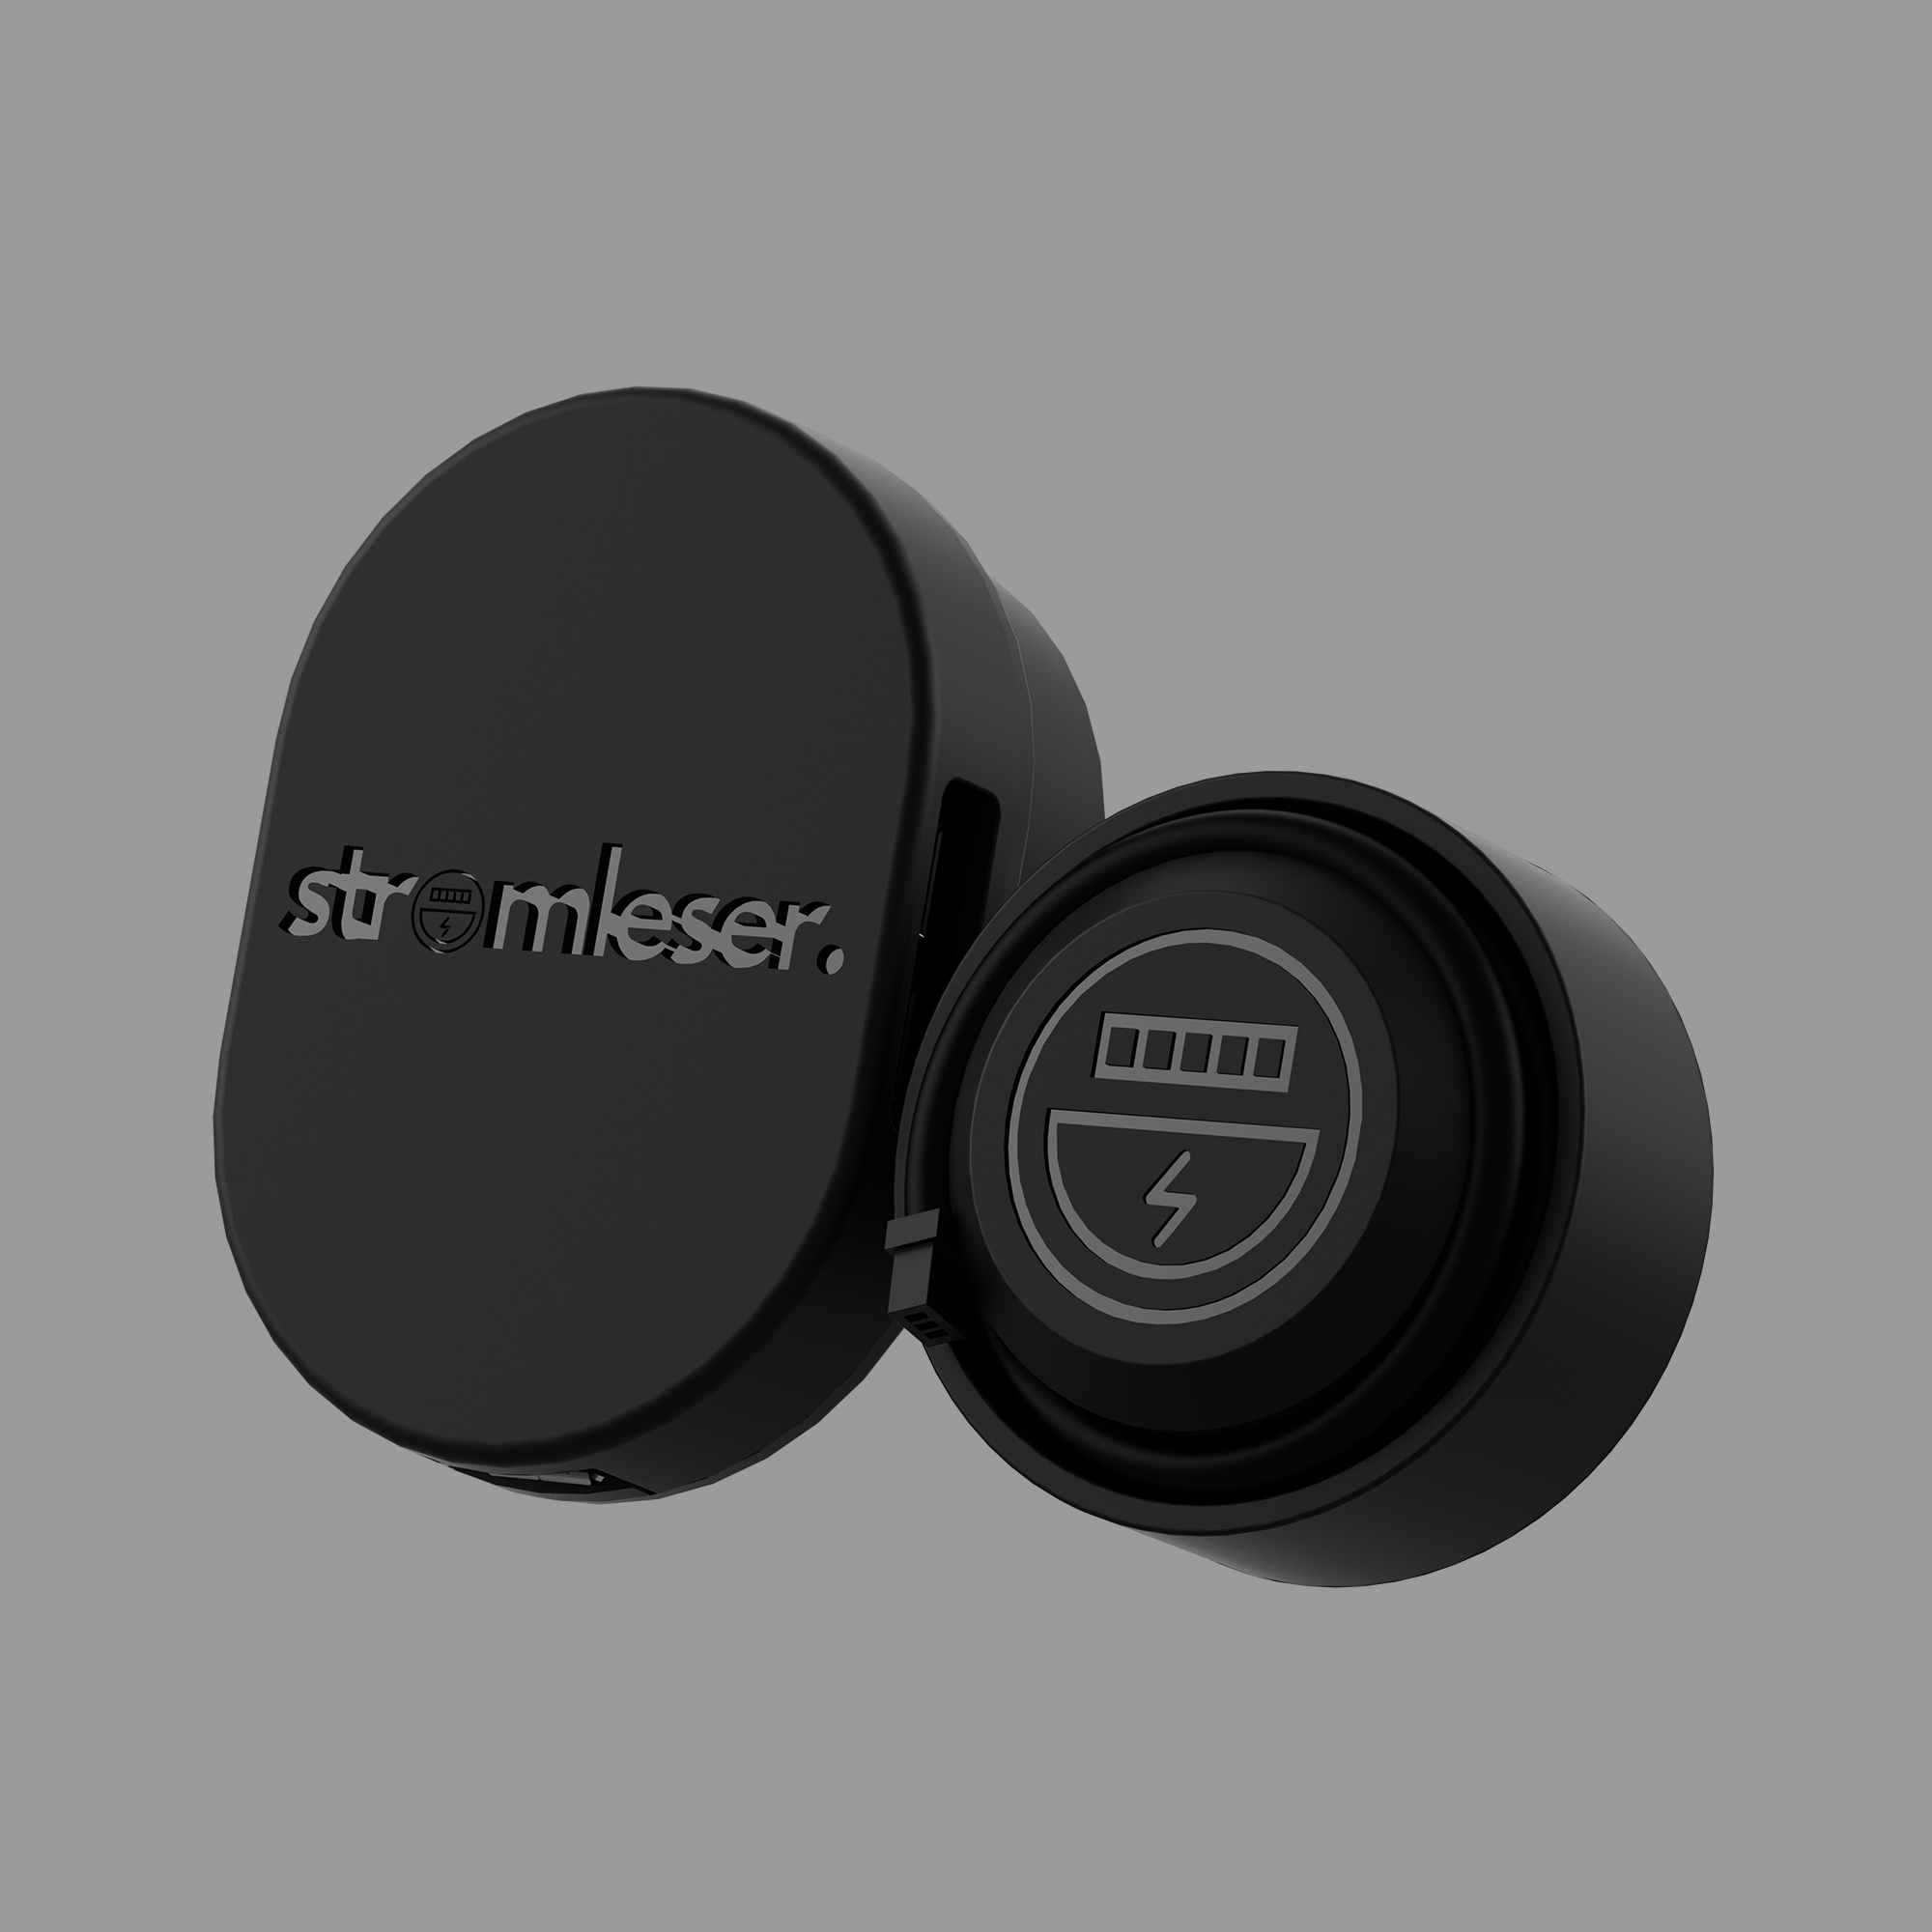
WIFI module
Transmits the meter data via WLAN – thanks to the 20 cm cable, it can be attached to the meter with an adhesive pad, making it flexible and independent of the TTL module.
LED status indicator
The integrated LED indicates whether the installation of the heat sensor was successful and a connection exists.
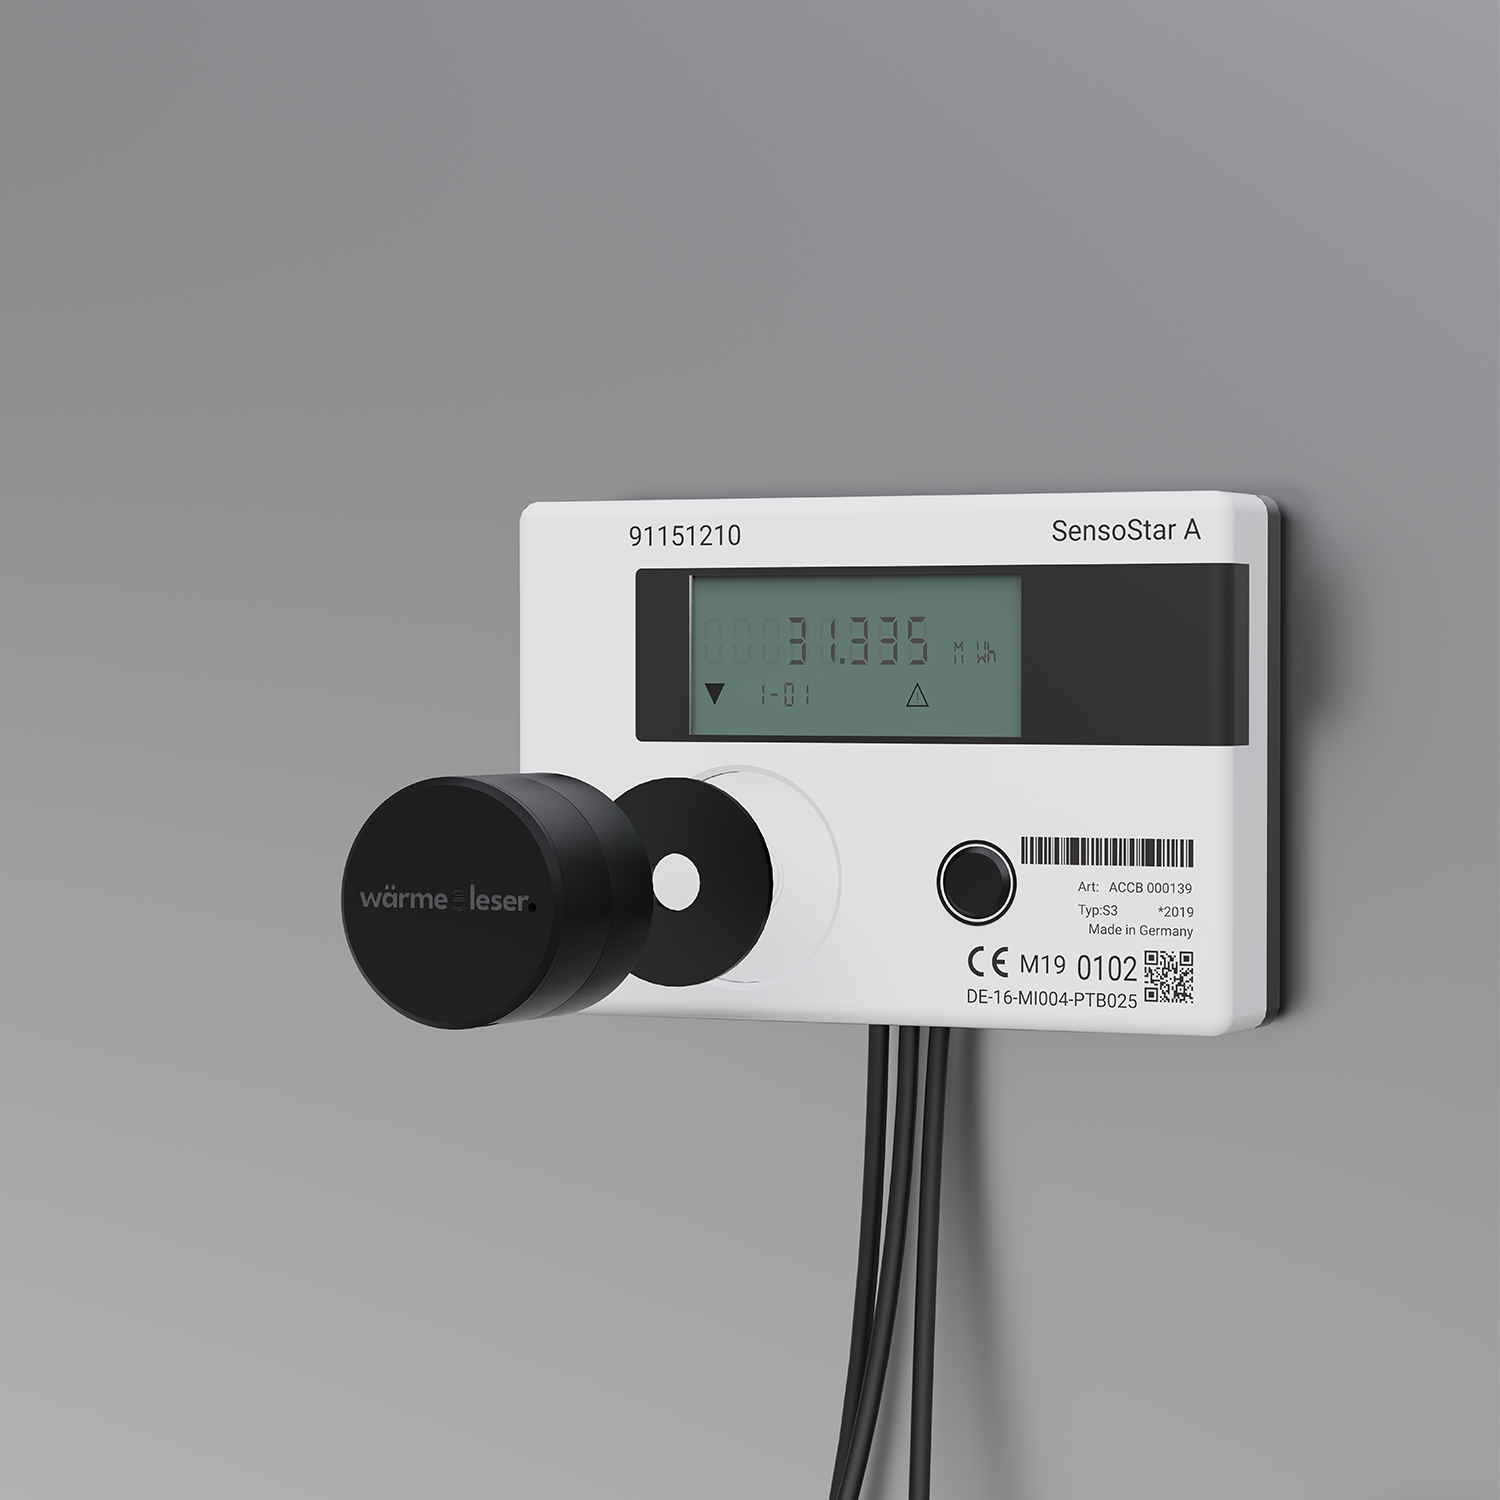
Step 1
Install heat detectors
Attach the heat reader directly to the optical interface of your heat meter . For optimal stability, you can adhere the included metal plate .
Step 2
Connect power
Connect the heat reader to the included power supply via USB-C cable – and supply it with power continuously.
Step 3
Install heat readers
Open the power meter app and follow the simple steps for setup .
With the enclosed instructions or the installation video , your consumption can be viewed live in just a few minutes – including daily values and consumption history .
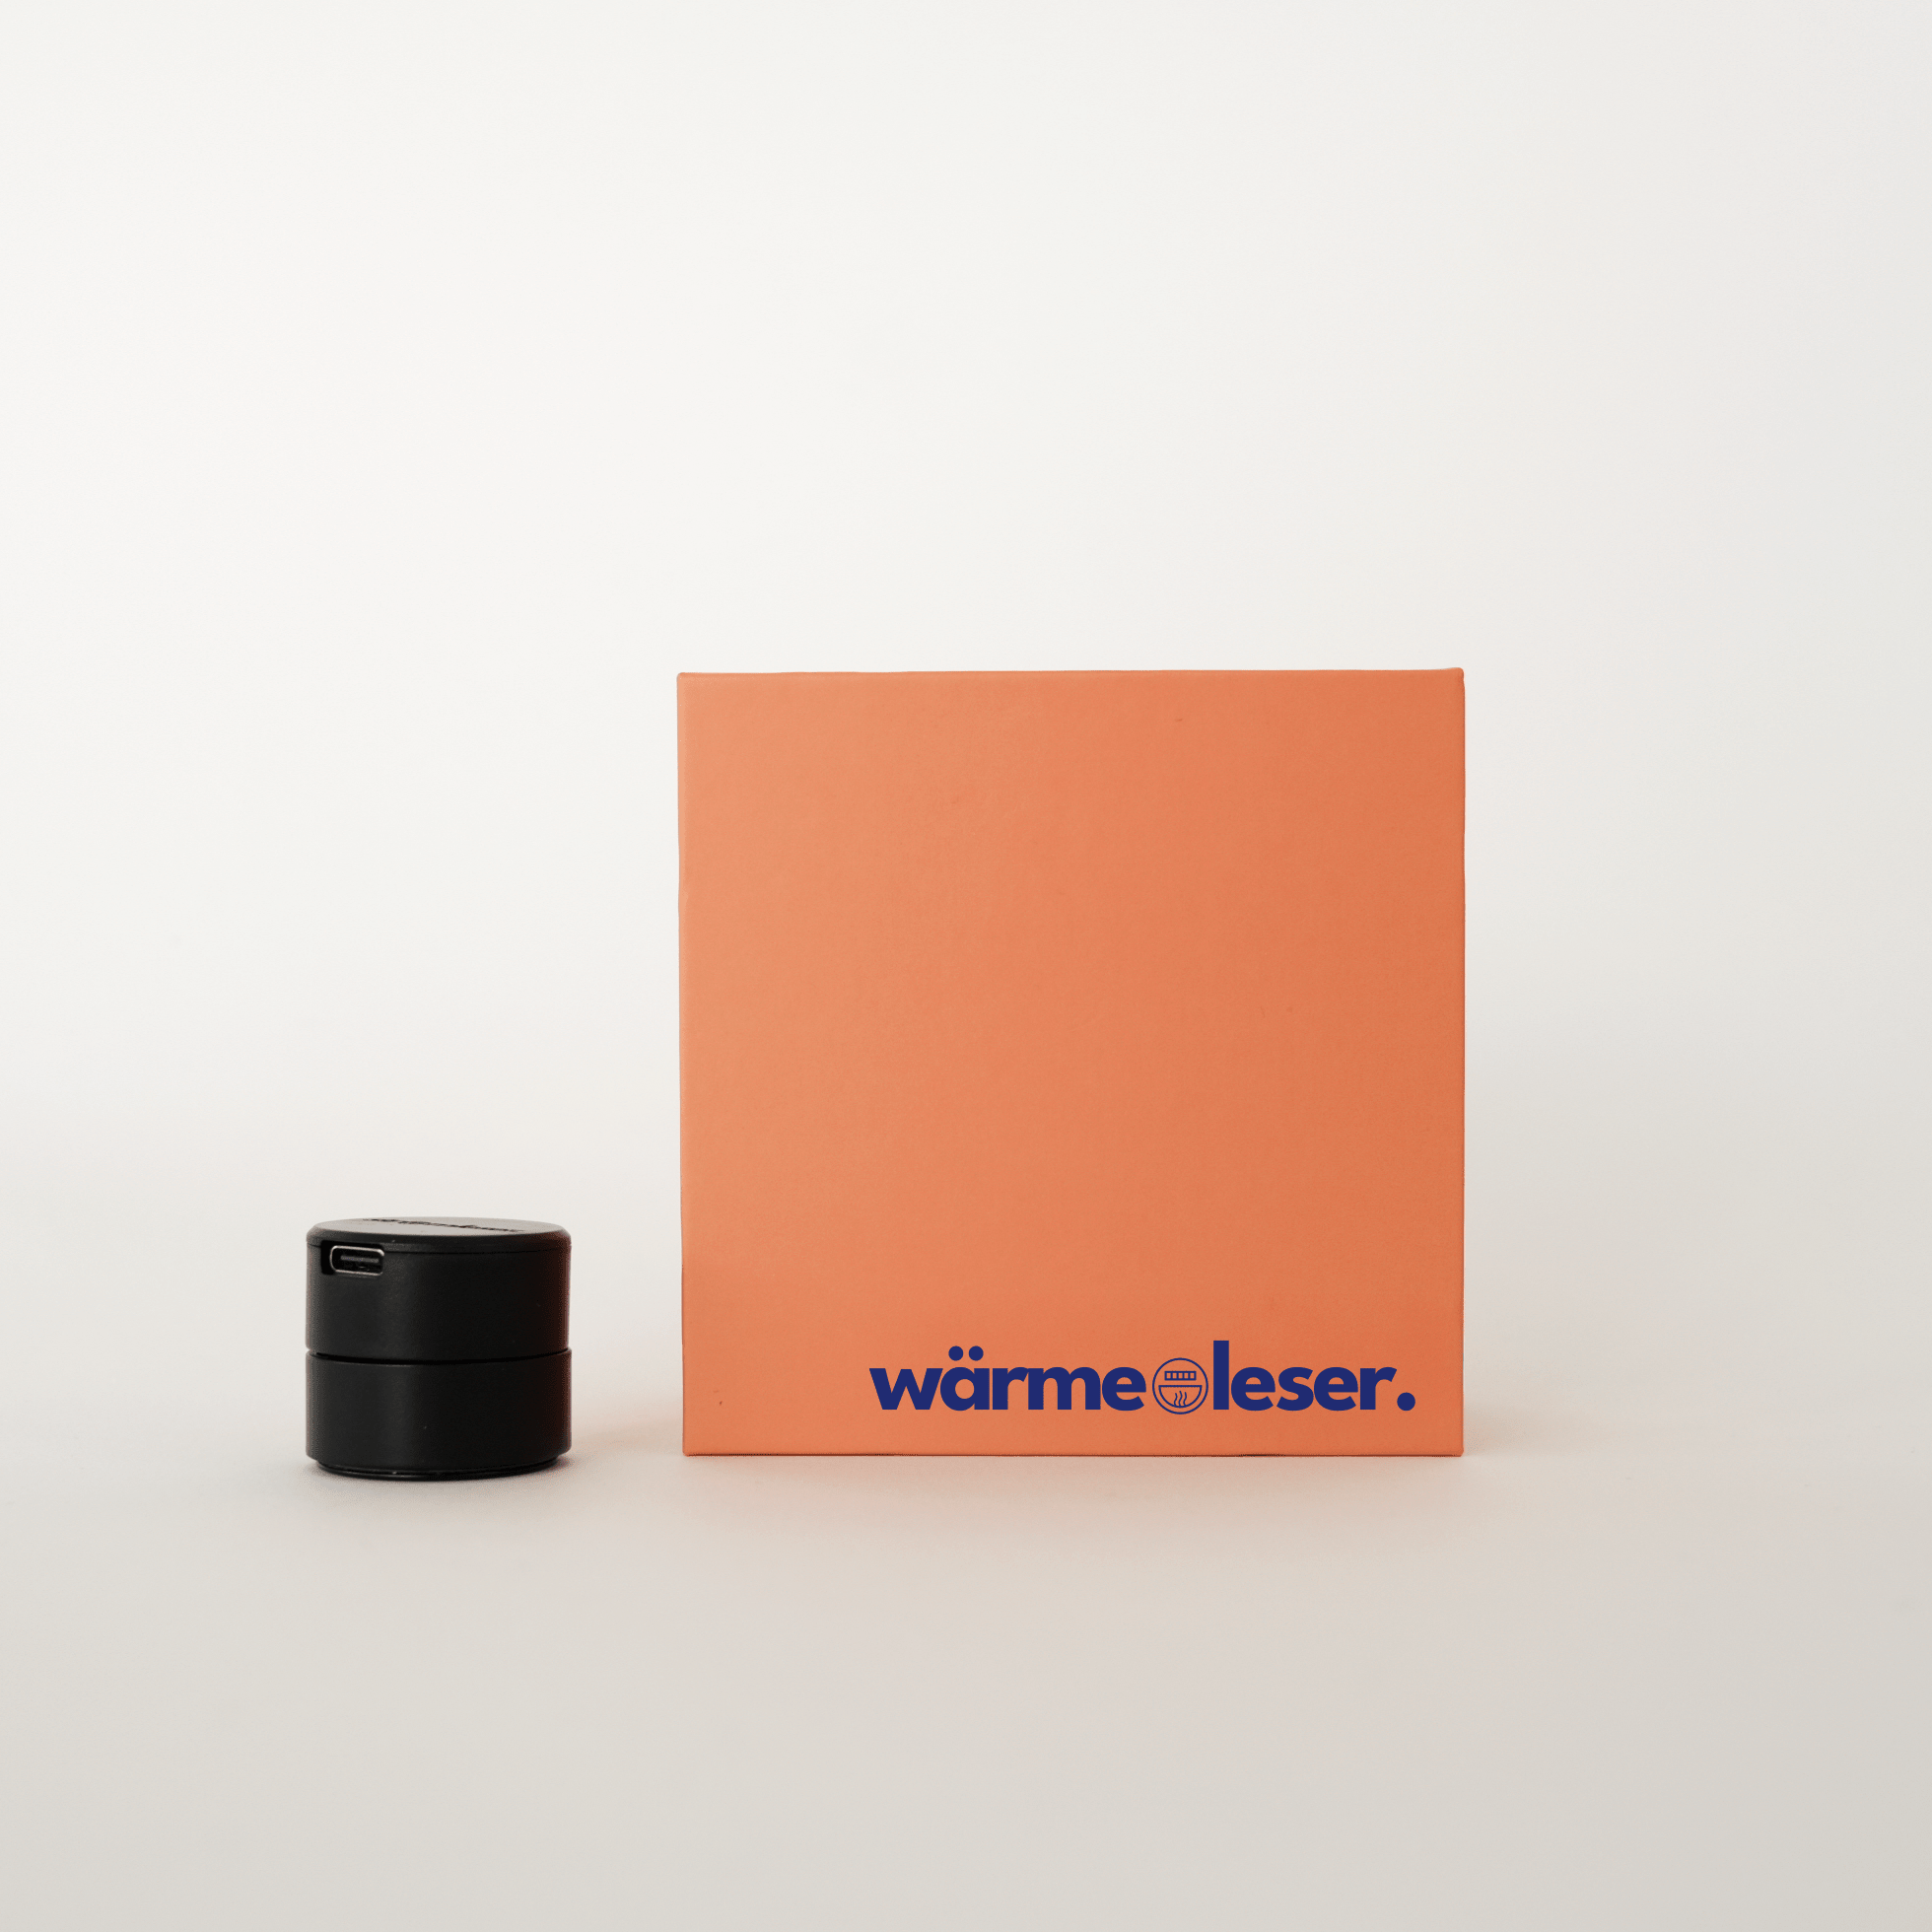
Scope of delivery:


You might also like:


Gefördert durch:

