With this step-by-step guide, you can install your heat reader yourself in just a few minutes – from attaching it to the heat meter to integrating it into the electricity reader app.
Installation of your heat reader
This guide will walk you through the physical installation of your heat reader on the heat meter, step by step.
The heat meter reader consists of two parts: a reading head (TTL head) and a Wi-Fi module. The USB-C port is located on the Wi-Fi module, which can be easily detached from the reading head for flexible mounting and attached separately using the included 3M adhesive strip – for example, in a location with better Wi-Fi reception or more space. If your heat meter offers sufficient space, you can also mount the heat meter reader as a single unit (without separating the two parts).
Step 1: Installation on the heat meter
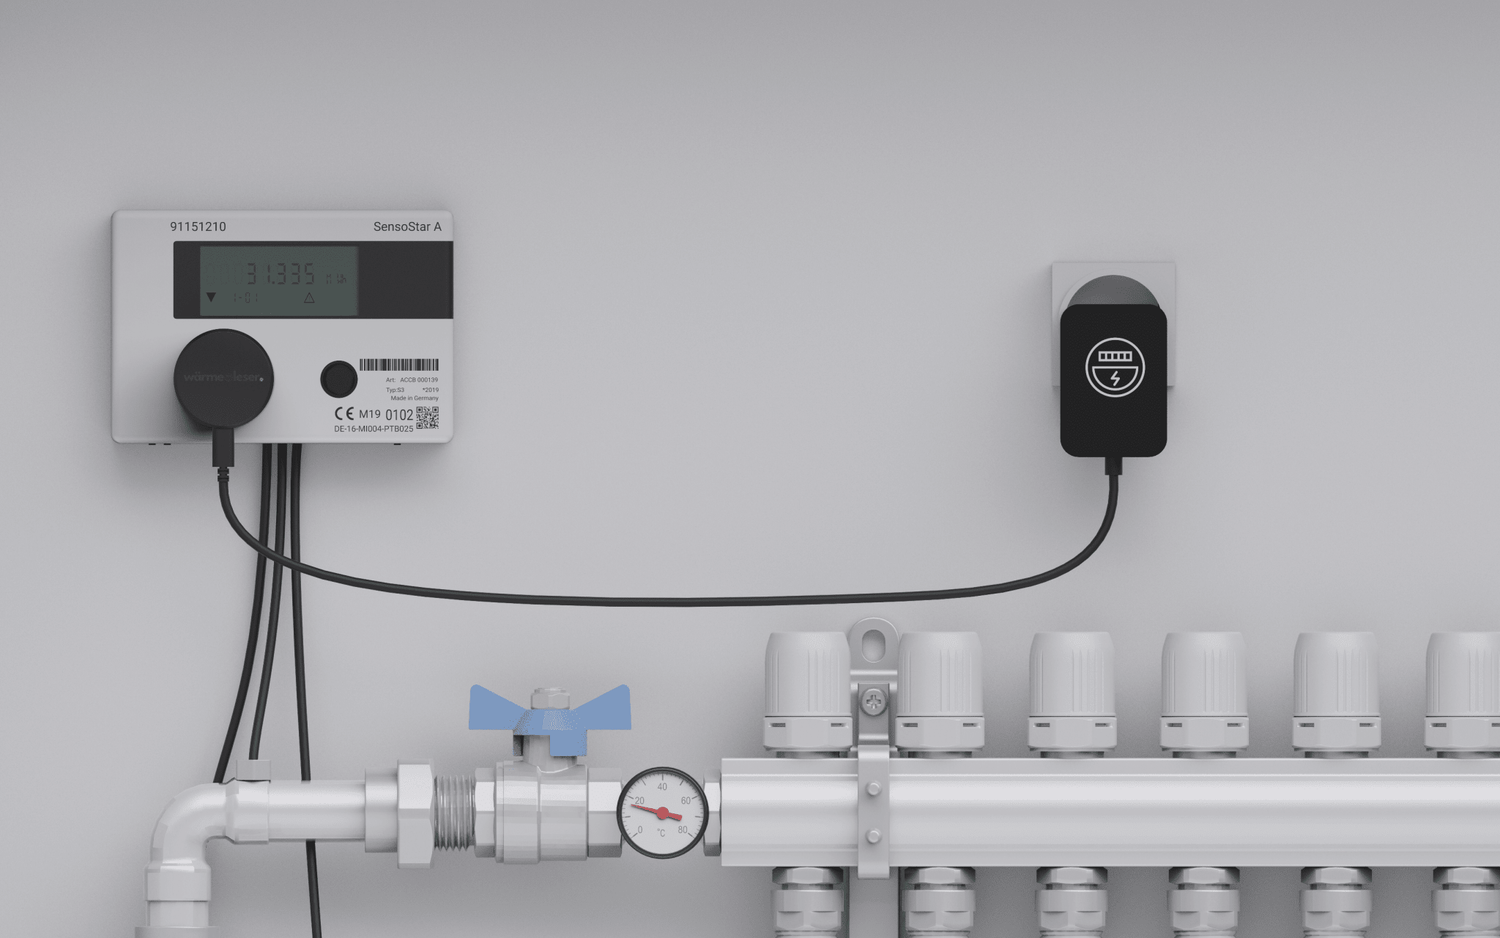
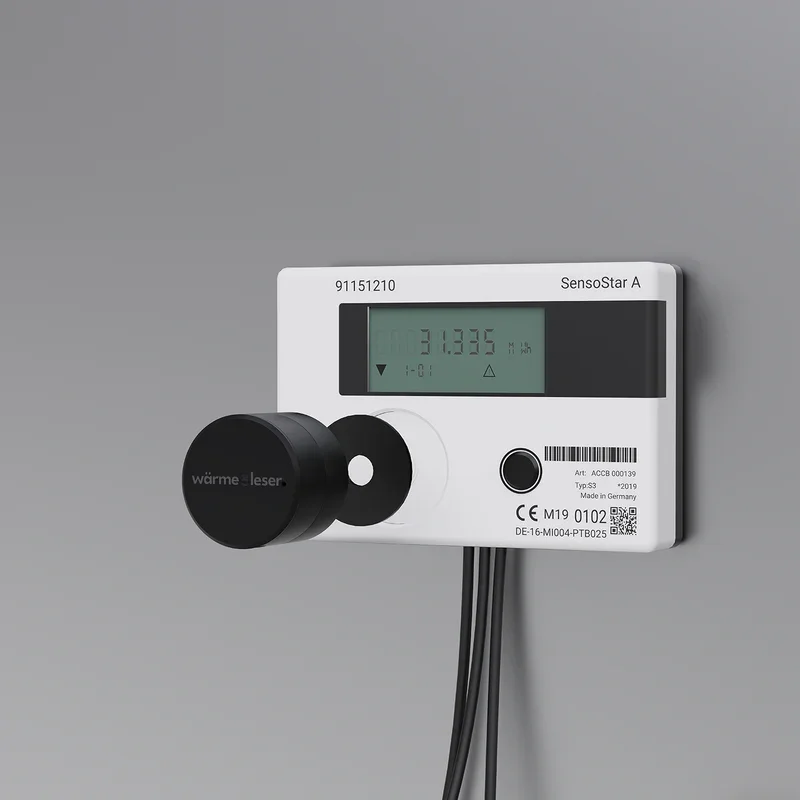
Attach your heat meter reader to the heat meter (see Fig. 1). To do this, stick the supplied metal disc in the center of the optical interface of your heat meter. Ensure that the interface is not covered. Place the heat meter reader onto the metal disc – it will hold automatically thanks to the built-in magnet.
Attach the Wi-Fi module separately
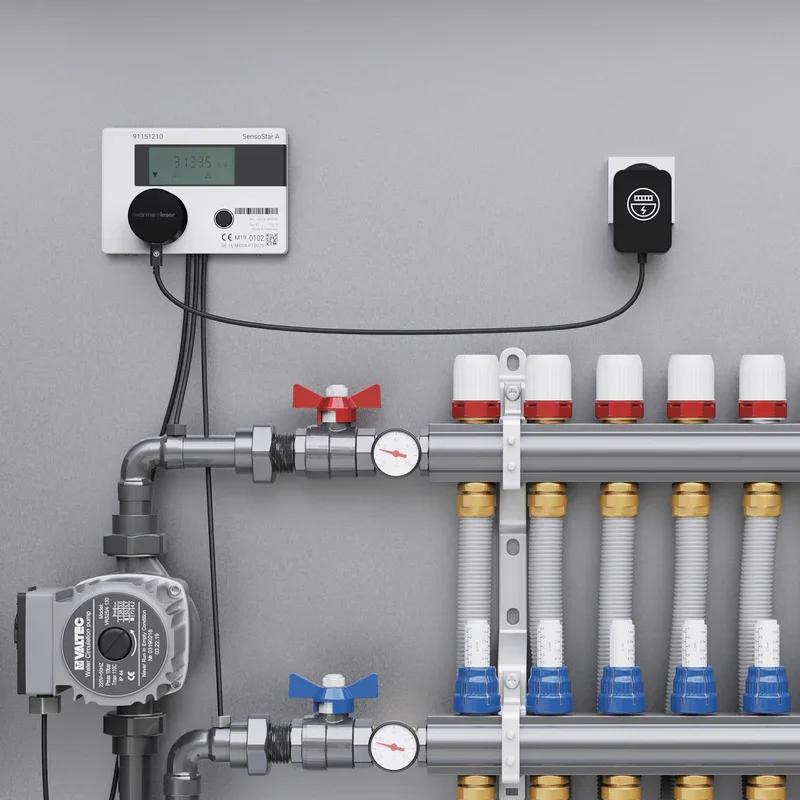
If space is insufficient or reception is poor, the WIFI module can be detached from the reading head and attached to a suitable location in the environment using the included 3M adhesive strip.
Connect the heat reader to a power outlet using the included USB-C cable and power adapter.
After the physical installation, you can check the power supply and then start the app setup.
power supply
The heat sensor requires a reliable power supply to operate. Here's how to connect the power supply correctly.
Depending on the model of the heat reader, various power supply options are available:
- Direct connection to the power outlet
- Continuous power supply
- No maintenance required
- Autonomous operation without cables
- Regular battery changes required
- Ideal for hard-to-reach places
-
Connect the power supply
- Connect the power supply to the thermal reader.
- Plug the power adapter into a wall socket
- Check the LED indicator
-
Check power supply
- Make sure the device is powered on.
- Check the status LEDs
- Wait for the device to initialize.
- Green LED stays lit: Wi-Fi successfully connected.
- Red LED stays lit: Wi-Fi not connected – Reset the heat reader (see Quick help ).
Security
Make sure the power supply is securely installed and that no cables are damaged.
Connect the heat reader to the app
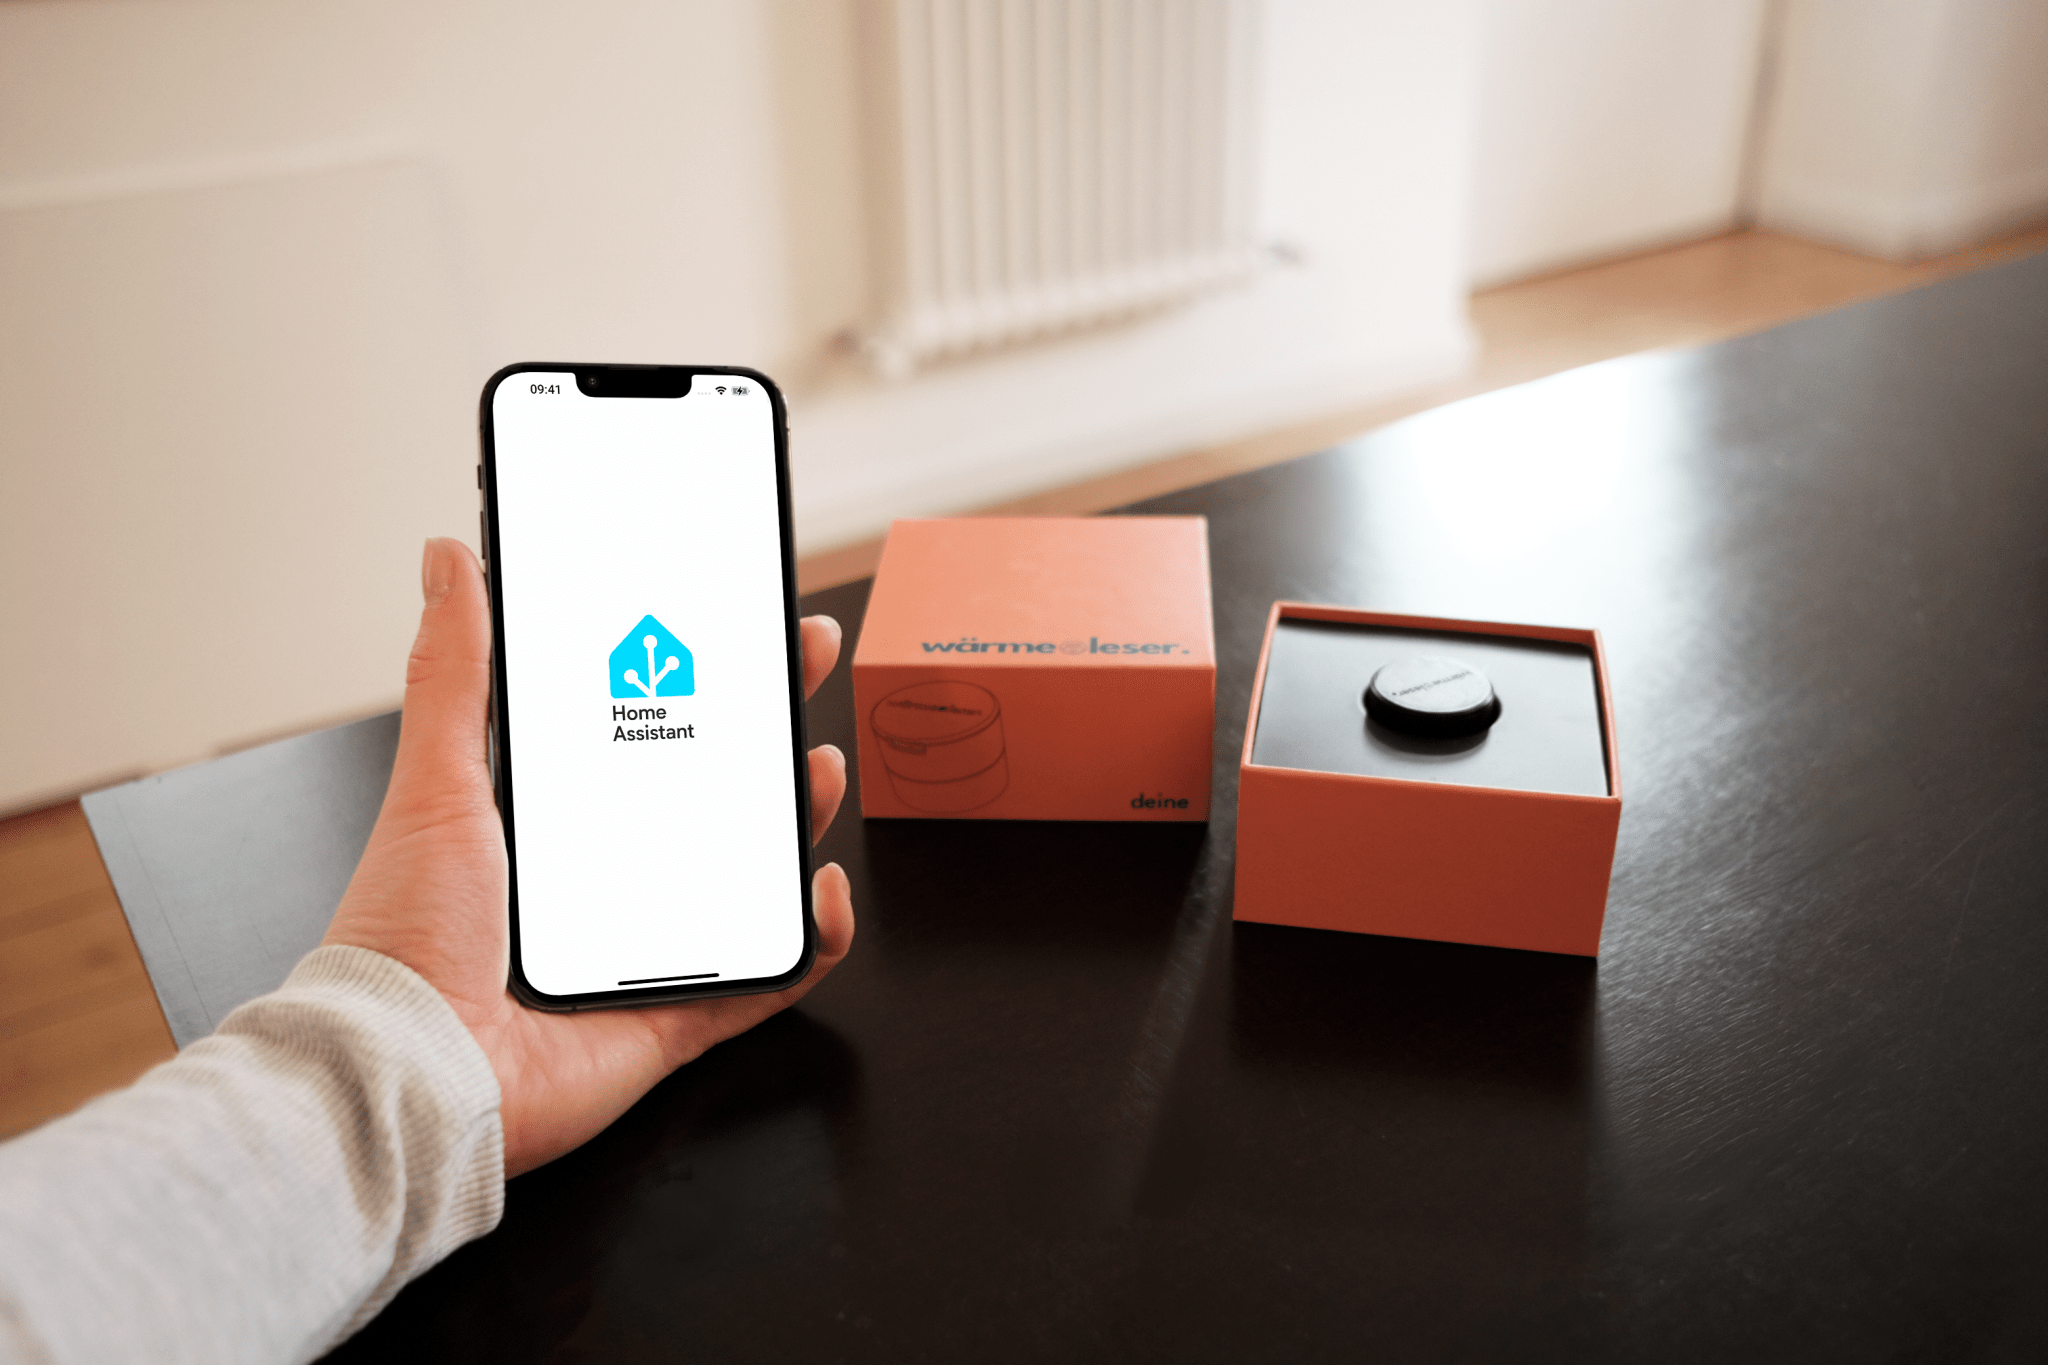
Step 1: Download the app
Download the Stromleser – Energie im Blick app from the App Store or Google Play Store to your smartphone.
Step 2: Create an account
Open the app and create an account with your email address or log in directly with your Apple or Google account.
Step 3: Select heat reader
To connect the heat reader to the app, tap the heat reader tile in the app.
Step 4: Activate Bluetooth
Make sure that Bluetooth is enabled on your smartphone (activate if necessary) and hold it near the heat reader.
Step 5: Connect the device
Now select the heat reader from the list of available devices to establish the connection.
Blue LED flashing: The WLAN setup is being prepared.
Step 6: Select Wi-Fi
Next, select your personal Wi-Fi network from the available networks and enter your corresponding Wi-Fi password. Pay attention to the LED indicator on the heat meter.
Step 7: Complete setup
Confirm and wait until the heat meter is fully set up.
Ready Your heat meter now measures your consumption in real time and appears on the app's home screen. Tap it to quickly and easily view your consumption data and statistics. Enjoy your heat meter reading!


Leave a comment
This site is protected by hCaptcha and the hCaptcha Privacy Policy and Terms of Service apply.