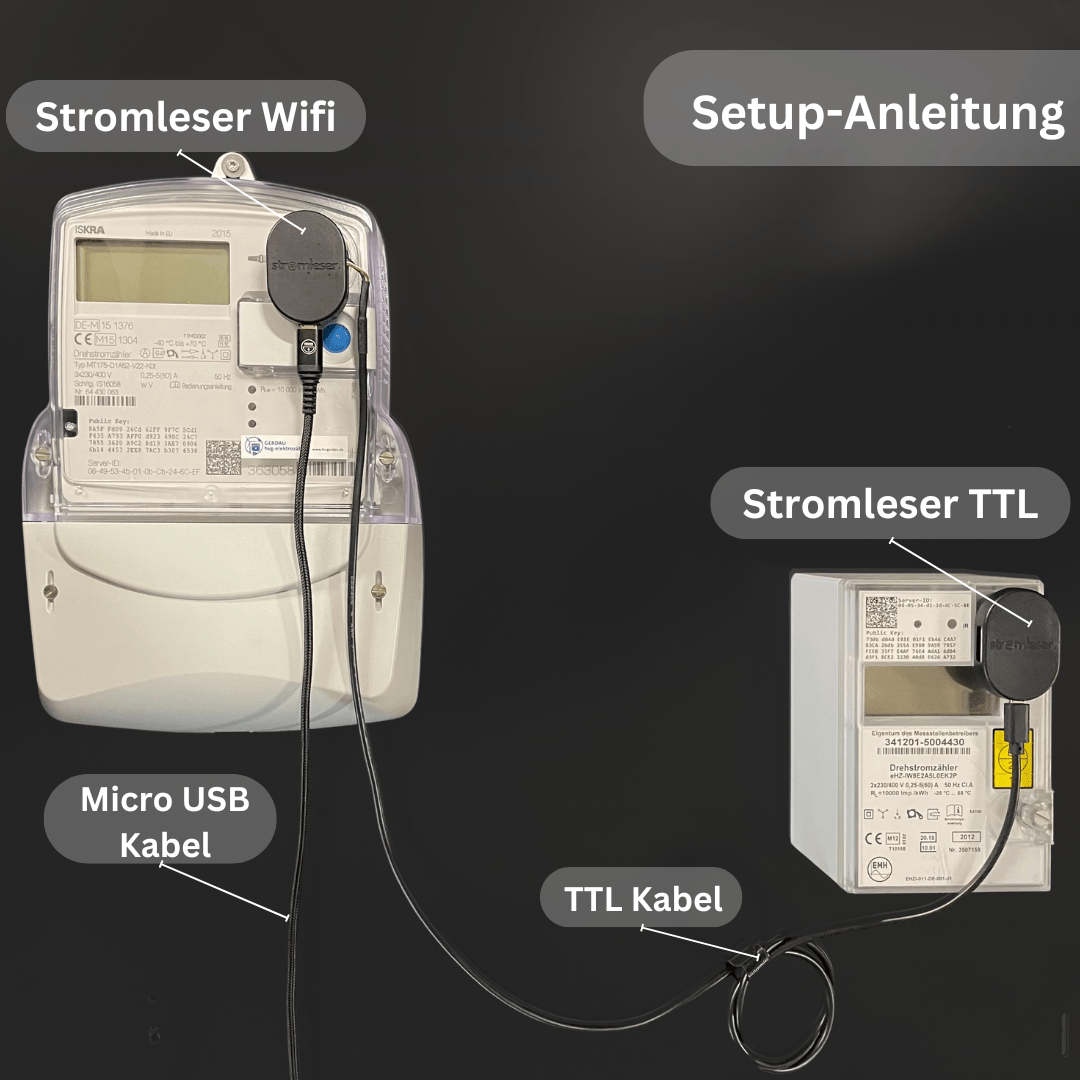
The integration of the electricity reader into Home Assistant allows you to efficiently monitor and analyze your energy consumption. Our electricity reader is based on the Tasmota software, which makes it easy to integrate into your smart home system.
Current status of integration
We are currently working on a dedicated video tutorial as well as a detailed step-by-step guide on how to integrate the electricity reader with Home Assistant. These resources will be available soon.
Preliminary guidance with external support
Until we have our own materials ready, we recommend watching Simon42's integration video. Although this video introduces other products, the process shown is based on the Tasmota software and is therefore identical to the integration of our electricity reader.
You can find the video here:
steps towards integration
1. Prepare hardware : Make sure your power reader is correctly installed and connected to your Wi-Fi network.
2. Configure Tasmota : Access the web interface of your electricity reader and configure the MQTT settings according to your Home Assistant installation.
3. Set up Home Assistant : Add the Tasmota integration in Home Assistant to receive the data sent from the electricity reader.
4. Visualize data : Use Home Assistant’s energy dashboard to monitor your energy consumption in real time and analyze historical data.
Notice
Please note that the integration requires technical knowledge. If you need support, we are happy to help.
Good luck with the integration!


Leave a comment
This site is protected by hCaptcha and the hCaptcha Privacy Policy and Terms of Service apply.