With these instructions, you can easily install your stromleser.one yourself in just a few minutes.
1. Check the scope of delivery
The stromleser.one package includes everything you need for installation.
Before you begin, please check that all parts are present:
- 1x stromleser.one, which already has a metal disc attached (for better hold on the digital electricity meter)

- 1x power adapter with USB-C connector
- 1x 3M adhesive pad
- 1x detailed instruction manual with important information on assembly and use

2. Attach stromleser.one to the meter
In most cases, installation at the meter is very straightforward.
- Make sure the electricity meter icon on the TTL read head is facing straight ahead – as if it's smiling at you. The meter can only be read correctly in this position.
- You can often attach the stromleser.one to your digital electricity meter just as it comes out of the packaging.


- Once the reading head is correctly positioned, you only need to connect the stromleser.one to a power source and the installation is complete.


3. No power outlet nearby?
- If there is no power outlet near your electricity meter, we recommend using the energy reader socket.
This can be installed directly on the DIN rail by a qualified electrician and reliably supplies your stromleser.one with power. - You can find the energy reader DIN rail socket in our online shop.

4. Weak magnet on the meter?
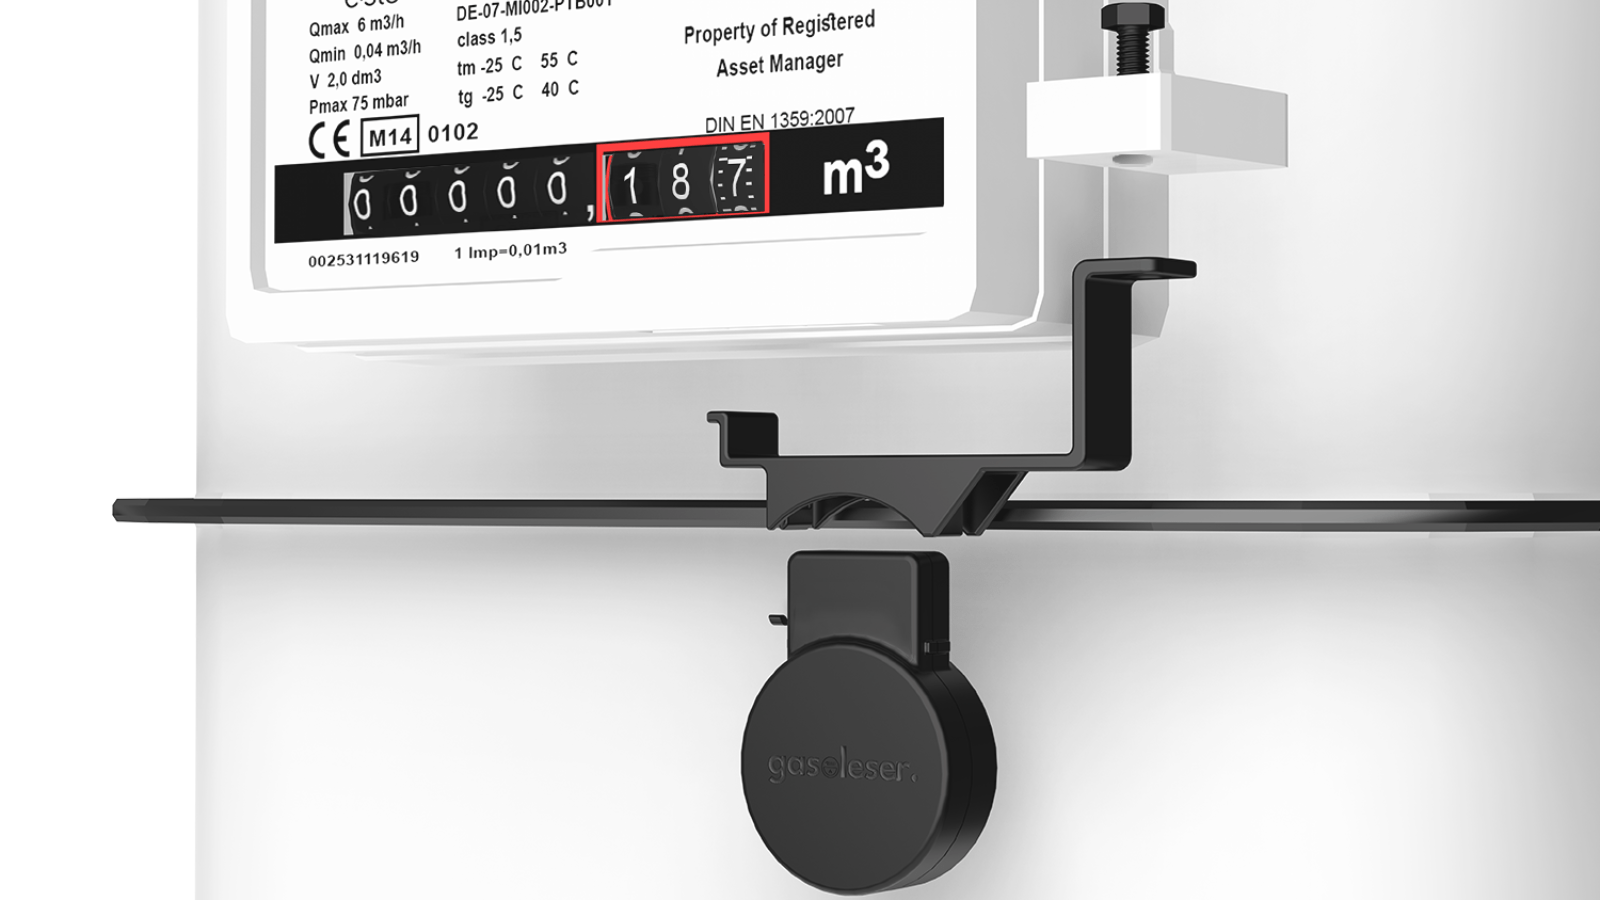
- If your digital counter has a weak magnet, you can use the included metal disc:
- Stick them onto the optical interface – make sure that the light source is not covered.

- If the cable is in the way due to the plastic protrusion on the meter, you can easily attach the WLAN module separately using the included 3M adhesive pad thanks to the two-component design of the stromleser.one.

For example, on the side of the counter: 
5. Download the app
- Grab your smartphone and download the app.
Download "stromleser – Energie im Blick" from the Apple App Store or Google Play Store .

6. Registration in the app
- Open the app and register:
- Either with your Google or Apple account
- Or traditionally via email and a password of your choice.

- After you click Next, you will need to verify your email address.
You will be sent a confirmation code.

- Enter the code in the app and tap Next again.
7. Connect stromleser.one to the app
- In the app, first tap on the stromleser tile, then on stromleser.one.

- Activate Bluetooth on your smartphone and hold it near your stromleser.one.

- Wait a moment until the device appears in the app.
- Once your stromleser.one device is displayed, select it from the list to establish the connection.

- If the LED on the stromleser.one flashes blue rapidly, the WLAN setup is currently being prepared.
8. Connect to Wi-Fi
- Now select your Wi-Fi network and enter your Wi-Fi password.
- Wait until your stromleser.one has been fully initialized.

9. Complete the installation
- Tap on Select Counter.

- As soon as the stromleser.one flashes green, confirm with Yes.
- If the stromleser.one is not yet flashing green, wait a moment and then confirm with Yes.
 10. Reset
- If the stromleser.one flashes red, an error occurred during installation:
-
- You can easily reset it with a paperclip.
- Press the red LED for approximately 7 seconds until it flashes blue.
- After that, you can restart the installation process.

11. Select counter
- Now enter the name of your meter and select it from the list of supported devices.

12. View overview
- Your stromleser.one account has now been successfully installed.
- If you select it, you will be taken to the overview page – there you can see all the recorded data and graphics at a glance.

We hope you enjoy saving energy and have a successful start with your stromleser.one !
Tip: Would you prefer to watch the installation in a video? No problem! In our tutorial video, we show you step by step how to easily install your stromleser.one.
FAQ – stromleser.one
How do I install the stromleser.one on the digital electricity meter?
Simply place the magnetic head onto the optical interface, align the logo towards the front and connect it to power via the USB-C connector.
Do I need Wi-Fi to use stromleser.one?
Yes, the device transmits your consumption data to the electricity reader app via Wi-Fi. Data transmission is not possible without Wi-Fi.
What to do if there is no electrical outlet near the meter?
Here you can use the energy reader DIN rail socket, which is installed by a qualified electrician.
How do I reset stromleser.one?
Press the red LED with a paperclip for about 7 seconds until it flashes blue. Then you can restart the setup.
What data can I see in the power reader app?
The app shows you your current electricity consumption, historical values and clear diagrams – so you can keep track of your energy consumption at all times.
❗️ If you have any questions or need support, please contact us by email ( info@energieleser.de ).


Leave a comment
This site is protected by hCaptcha and the hCaptcha Privacy Policy and Terms of Service apply.