
With these instructions, you can easily install your gas reader yourself – in just a few minutes.
1. Check the scope of delivery
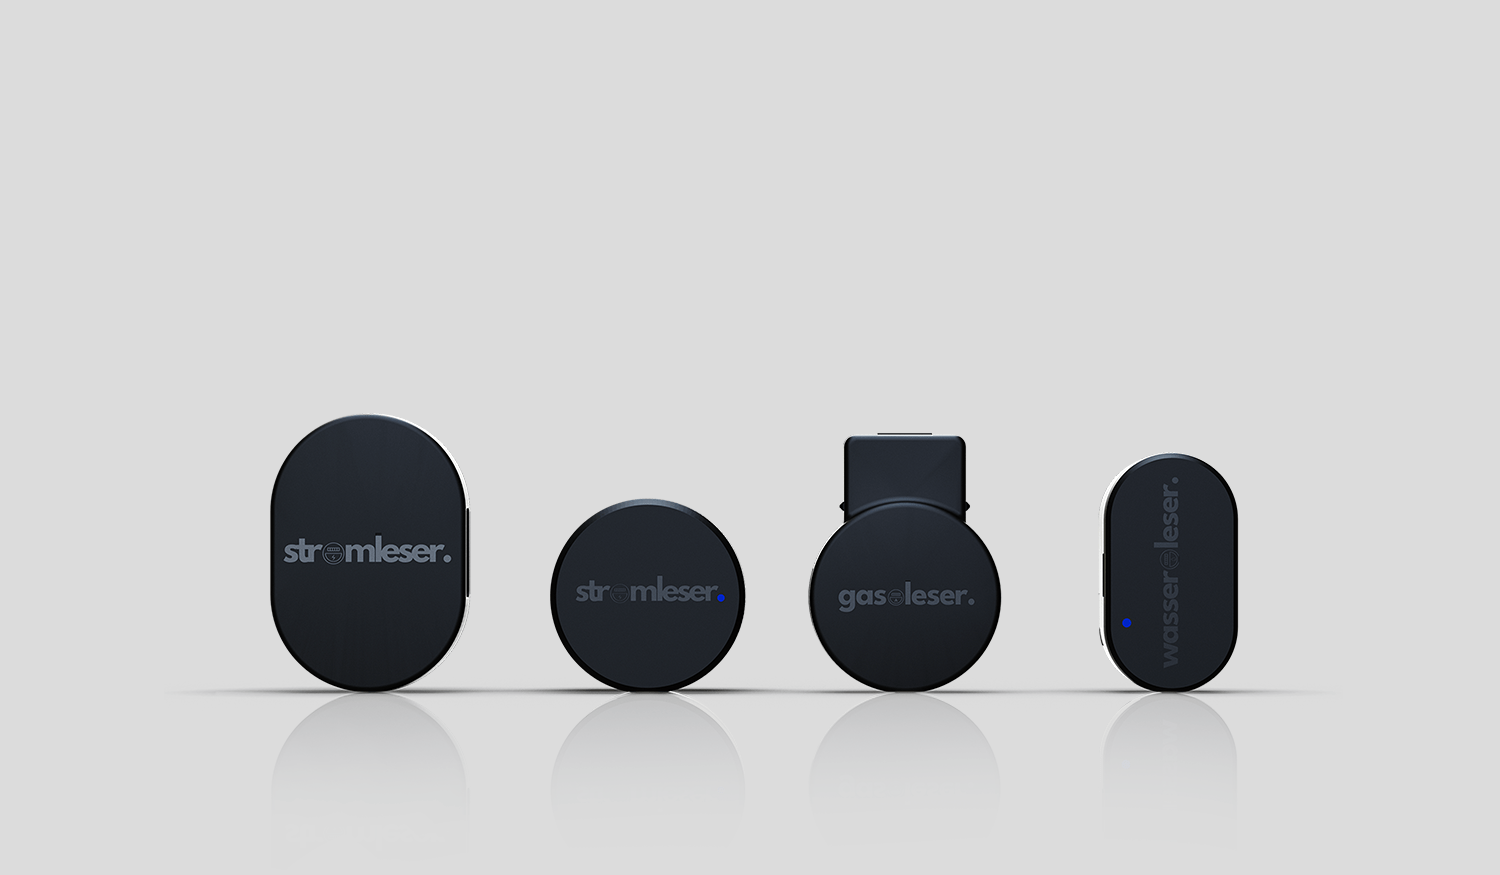
The package includes everything you need for installation:
- 1x gas reader
- 1x power adapter with USB port
- 1x adapter for mounting on the gas meter
- 1x screw for fixing
- 1x detailed instruction manual with all instructions for assembly and use

2. Installation at the gas meter
- The adapter can be hooked onto the lower right edge of the consumption display on all BK meters.

- Then, secure the adapter with the supplied screw to ensure a secure hold.

- Then you snap the gas reader into the holder – it will then automatically be in the correct position to reliably read your meter.

- Finally, you connect the gas meter to the electricity – that completes the installation.


3. Download the app
- Grab your smartphone and download the app “stromleser – Energie im Blick” from the Apple App Store or the Google Play Store .

4. Registration in the app
- Open the app and log in:
- Either directly with your Apple or Google account.
- Or traditionally via email and a password of your choice.


- You will now receive a confirmation code via email.
- Enter the code in the app and tap Next to continue.

5. Connect the gas reader to the app
- Tap on the gas reader tile.

- Activate Bluetooth on your smartphone and hold it near the device.
- Wait until the gas reader appears in the app.
- Tap it to establish the connection.

- The LED on the device starts to blink slowly green – the Wi-Fi setup is being prepared.
6. Connect to Wi-Fi
- Select your Wi-Fi network and enter your Wi-Fi password.


- Wait until your gas reader has been fully initialized.

7. Complete setup
- Tap "Setup" on the main screen.

- Wait until the device flashes blue, and confirm with "Yes".


8. Reset
-
If the LED flashes red, you can reset the gas meter at any time:
- Hold a paperclip in the small hole on the underside of the gas reader until the light flashes blue.
- After that, you can restart the setup.

9. Configure gas meter
- Now you can configure your gas meter.
- You can find all the necessary information on your last gas bill.
- If you don't have these handy, you can simply click "Done" – the app will then use default values.

10. Enter counter reading & pulse value
- Enter your current meter reading.

-
Select one of the three displayed pulse values (imp values).
- You can find this in small print directly below the meter reading on the casing of your gas meter.
- If the counter continues to spin during setup, you can adjust the value at any time later.

11. View consumption data
-
After that, you will be taken to the overview of your gas reader:
- Current meter reading
- Gas consumption in m³ and kW
- Consumption trend as a graph
- Important: The live history is only displayed while the app is open.

12. Adjust data retroactively
- Your gas meter is now fully set up.
- If you later want to change data such as the device name, meter reading, costs or calorific value, you can easily do so via the gear icon at the top of the app.

We hope you enjoy saving energy and have a successful start with your gas reader !
Tip: Would you prefer to watch the installation in a video? No problem! In our tutorial video, we show you step by step how to easily install your gas reader.
FAQ – gas readers
How do I install the gas reader on the gas meter?
The adapter is hooked onto the lower right edge of the consumption display and secured with the screw. Then you snap the gas meter into place and connect it to the power supply.
Do I need Wi-Fi to use the gas meter?
Yes, the gas meter sends the recorded consumption data to the electricity meter app via your Wi-Fi network. Data cannot be transmitted in real time without Wi-Fi.
How do I connect the gas meter to the app?
Download the app "stromleser – Energie im Blick", register, and activate Bluetooth. Hold your smartphone near the gas reader, select it in the app, and connect it to your Wi-Fi network.
How do I reset the gas meter?
If the LED is red, press a paperclip into the small hole on the underside until the light flashes blue. Then you can restart the setup.
What data does the electricity reader app display when using the gas reader?
The app displays your current gas meter reading, consumption in m³ and kW, and a graphical trend. Some live data is only visible while the app is open.
❗️ If you have any questions or need support, please contact us by email ( info@energieleser.de ).


Leave a comment
This site is protected by hCaptcha and the hCaptcha Privacy Policy and Terms of Service apply.